Printing guidelines
The purpose of the MySegmenter (v2.0.1) is allow users to create anatomical models for diagnostic and planning of orthopaedics, and maxillofacial cases. In order to ensure that models are properly manufactured for this intended purpose, MySegmenter carried out testing for 20 anatomic scenarios in orthopaedics and maxillofacial bone structures to provide printing guidelines that ensure accurate models. The following validated guidelines are provided to create accurate printed models:
Validated printer:
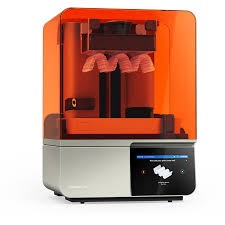
Currently the MySegmenter has validated the accuracy of its created models utilizing the 3D printer Form 4B (Formlabs, Somerville, MA, USA) that uses the proprietary Low Force Stereolithography LFS). The models should be prepared in Preform software version 4.46.1.500 from FormLabs for printing.
Material selected
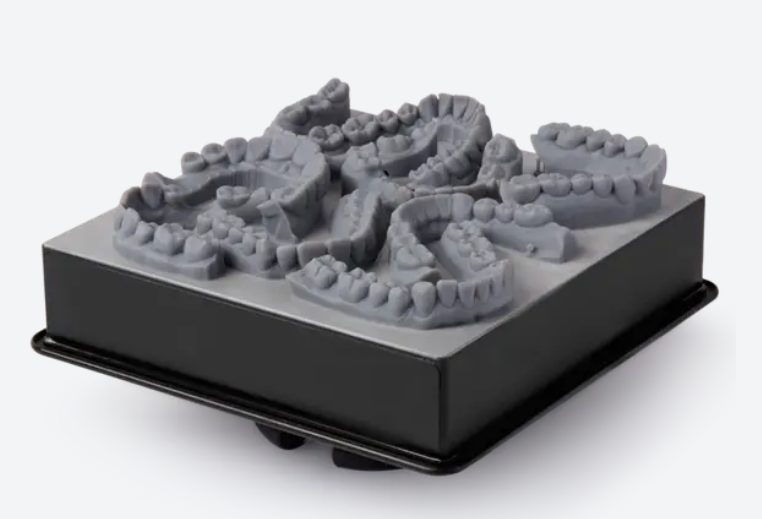
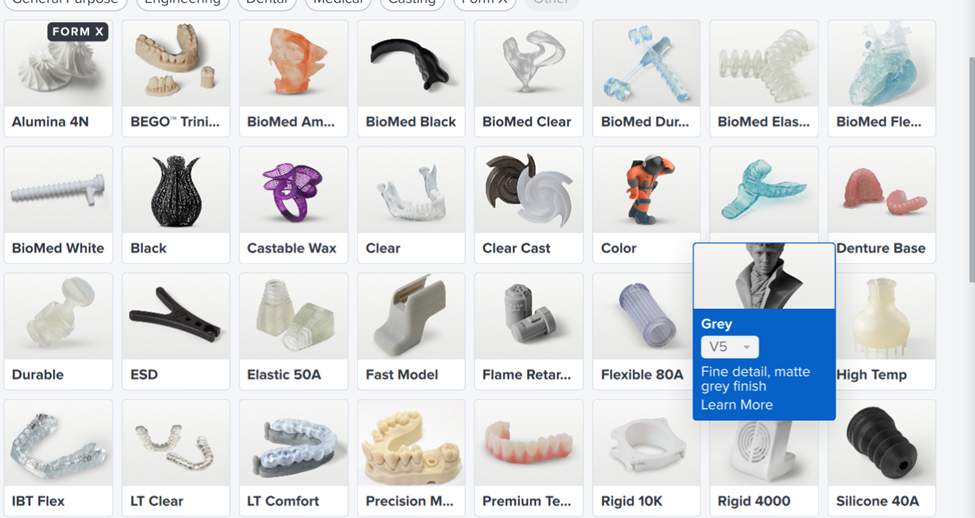
Validated material for accurate printing is Grey Resin V5 from FormLabs, this material is especially effective to capture small and intricate details from the anatomical models selected and allows for easy post-processing to generate usable models in a very short time.
Printing applications:
MySegmenter Technologies performed 3D printing tests for various maxillofacial and orthopedic applications to ensure that the software can produce models suitable for clinically relevant scenarios. MySegmenter (v2.0.1) is fully capable of generating accurate models for most orthopedic and maxillofacial applications. However, MySegmenter and the printing process described in the following sections were directly validated for the following applications, which represent some of the most common and clinically relevant scenarios in these fields:
-
Maxillofacial applications
- Complex fractures for skull and mandibular bones
- Temporomandibular joint disorders for mandible
- Malign neoplasms in mandible
-
Orthopedic applications:
- Congenital scoliosis case
- Fracture malunion in ankle bones, Hip bones, and long bones such as humerus, clavicle, and tibia
- Hip dysplasia
Precaution: For any other clinical cases, it comes under user responsibility to perform additional verification with expert clinical professionals to ensure the usability of the printed models.
Calibration of printer
To ensure inaccuracies are not introduced due to errors in the calibration; is recommended that the user perform calibration for Form 4B, Form Wash, and Form Cure devices following the FormLabs calibration protocols for IQ, OQ, and PQ
3D Printing process
The following printing procedure is validated by MySegmenter Technologies to ensure the creation of models with appropriate accuracy for the maxillofacial and orthopedic applications indicated above. It is recommended that verification of segmentations is performed prior printing to ensure all the required features are covered in the model:
-
Open the preform
- Start the Preform software version 4.46.1.500, and start user session
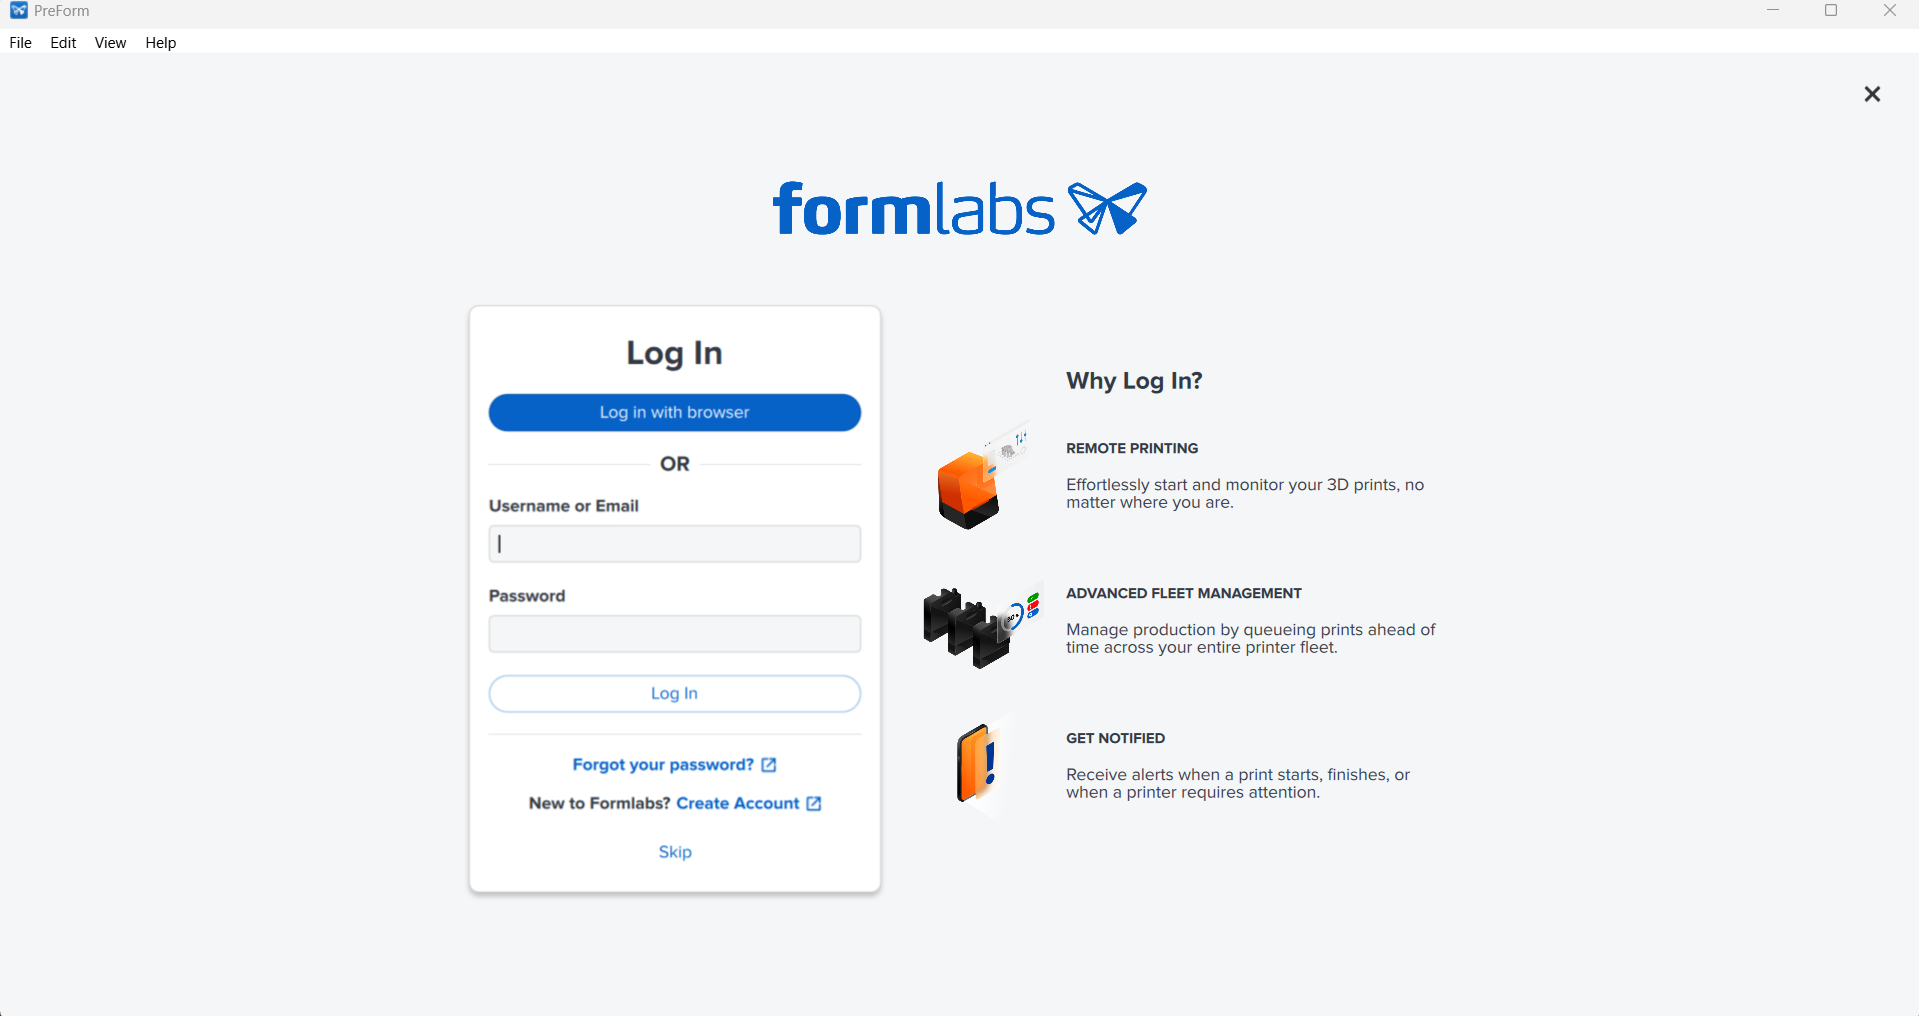
- Start the Preform software version 4.46.1.500, and start user session
-
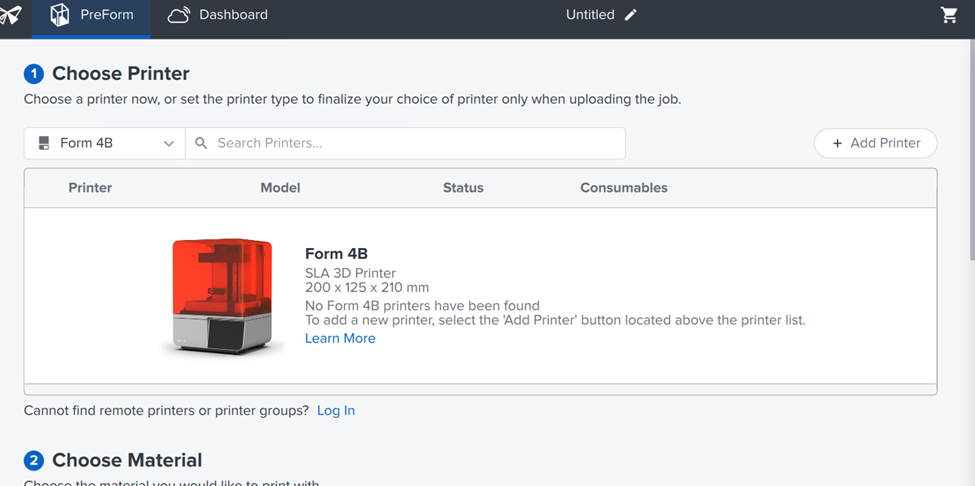
Select printer
- Select intended printer, in this case the Form 4B. For the purpose of models created in the
MySegmenter (v2.0.1), the printer 4B is validated as a device that produce accurate
anatomical models
- Select intended printer, in this case the Form 4B. For the purpose of models created in the
MySegmenter (v2.0.1), the printer 4B is validated as a device that produce accurate
anatomical models
-
Select the material for printing
- Select the intended material for printing, on this case the MySegmenter models provide
accurate results utilizing Grey Resin V5.
- Select the intended material for printing, on this case the MySegmenter models provide
accurate results utilizing Grey Resin V5.
-
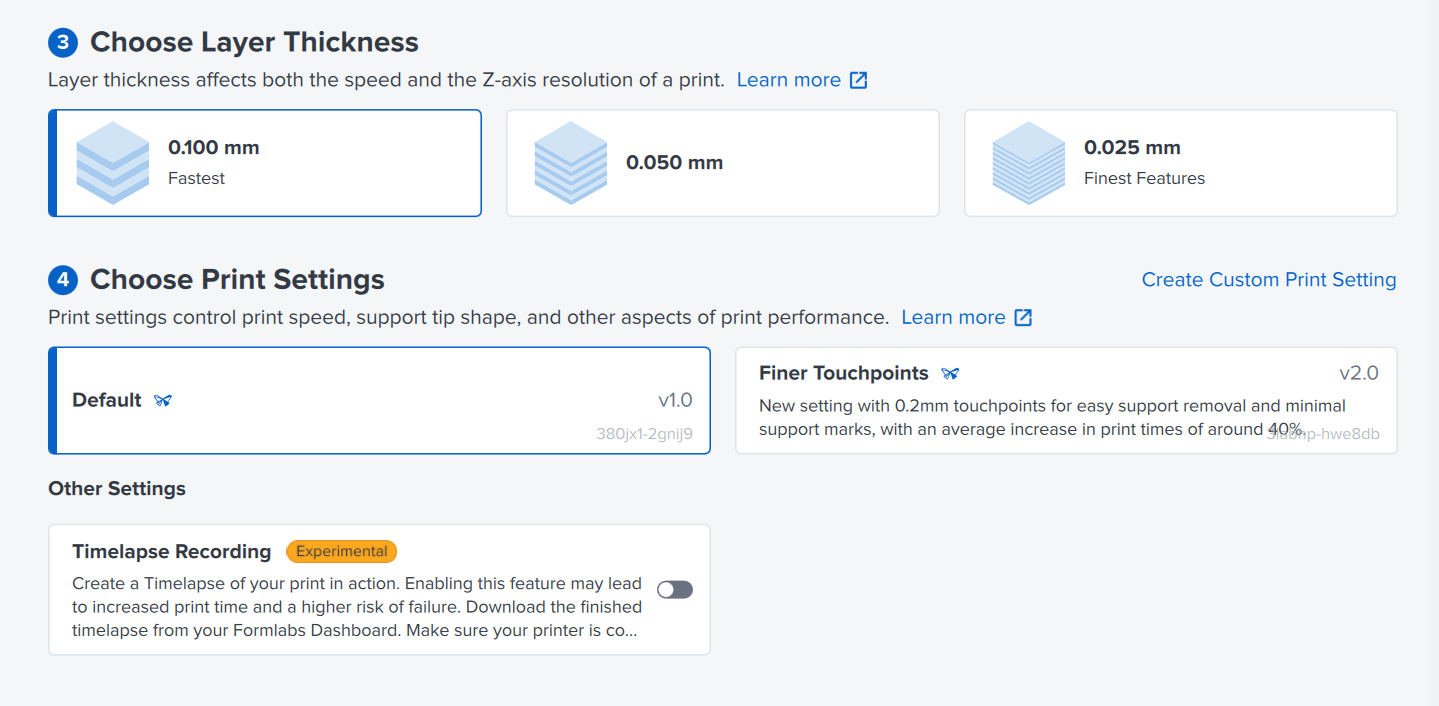
Choose initial settings.
- Select the initial settings to initiate the printing environment
- Select the initial settings to initiate the printing environment
-
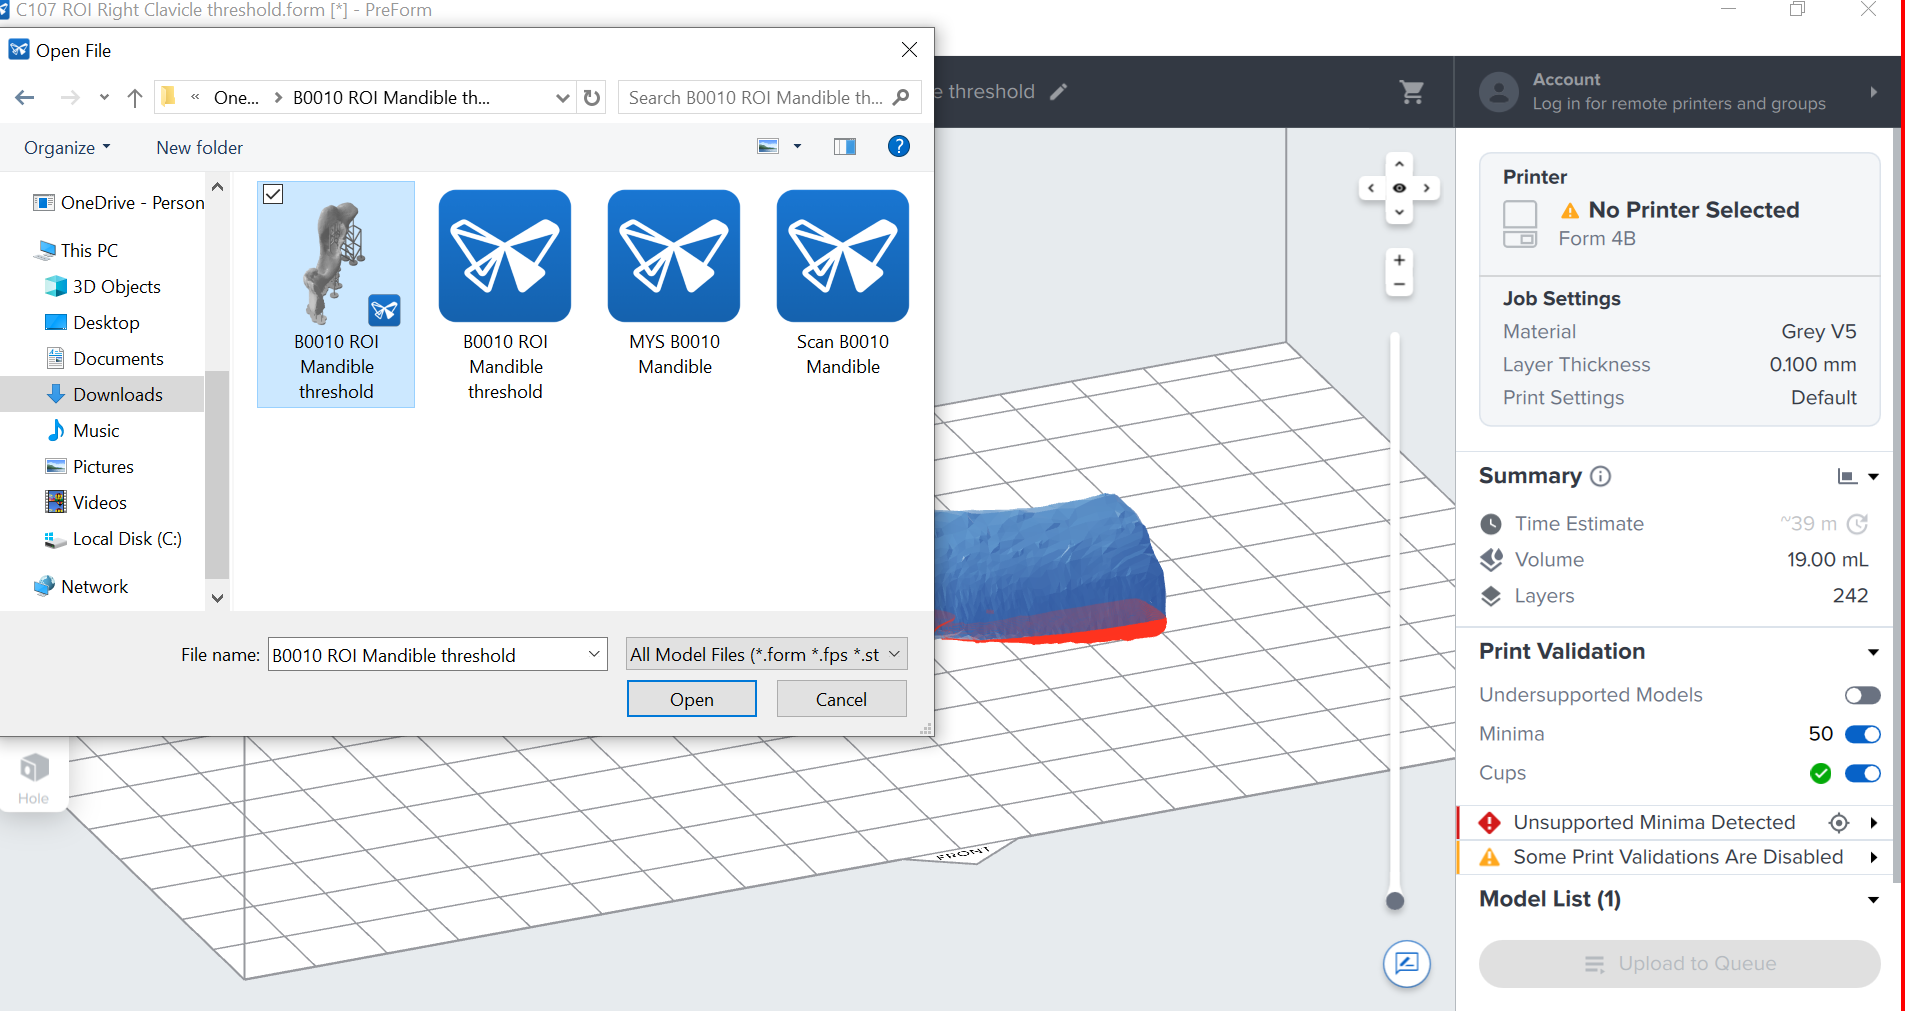
Open and prepare the models
- Click on Open option and select the 3D file for printing (.STL, .OBJ, or .3MF).
- Ensure the model is within the build platform area (orange outline).
- Adjust scale or position if the model exceeds the printable area.
- Adjust scale or position if the model exceeds the printable area.
-
Orient the model:
- The orientation influences heavily the quality of the final output due to the support location and the position of the curvatures in the contour of the model. To obtain the best results, the model is recommended to be manually located in the center of the printing bed which is 14.5 cm x 14.5 cm in wide and depth, and manually oriented to:
- Reduce the support usage
- Place the supports away from the region interest
- Position flat, or cosmetic surfaces upward Note: Avoid downward-facing overhangs
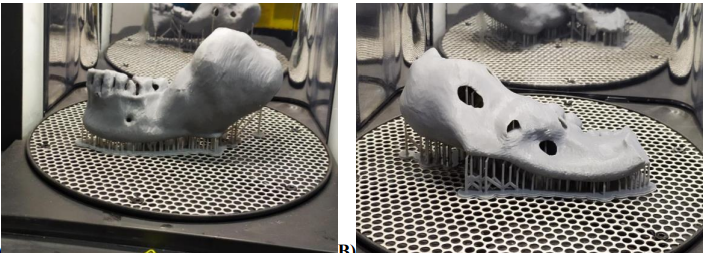
- The orientation influences heavily the quality of the final output due to the support location and the position of the curvatures in the contour of the model. To obtain the best results, the model is recommended to be manually located in the center of the printing bed which is 14.5 cm x 14.5 cm in wide and depth, and manually oriented to:
-
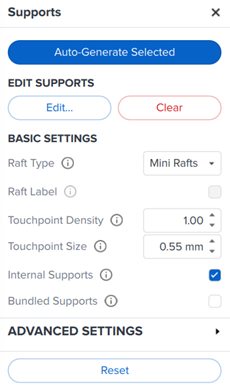
Configure Support Settings:
- Open the Support panel and apply the following settings. For the validated models, the
following parameters for supports are recommended
- Open the Support panel and apply the following settings. For the validated models, the
following parameters for supports are recommended
Support settings
| Setting | Value |
|---|---|
| Raft Type | Full Raft |
| Touchpoint Density | 1.0 |
| Touchpoint Size | 0.55 mm |
| Internal Supports | Always On |
| Slope Multiplier | 1.0 |
| Height Above Raft | 5.00 mm |
| Raft Thickness | 1.5 mm |
-
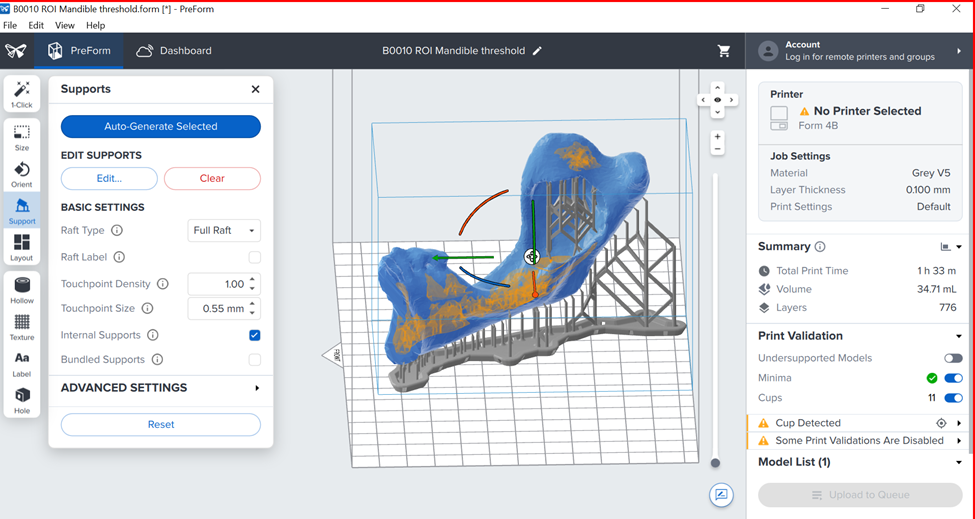
Click in "Auto Generate Selected".
-
Inspect and modify supports if necessary. It is recommended to ensure the model is stable with minimum amount of supports.
-
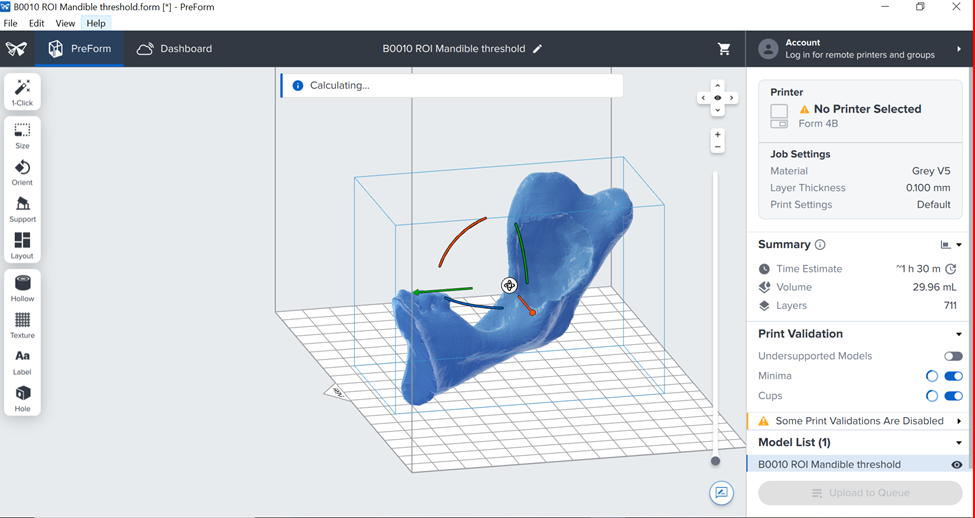
Validate and Review the Print
- Review estimated print time and resin volume to ensure printing is feasible.
- The layer thickness should be ideally small enough to capture the anatomical features of the target model. For the purpose of the anatomical models, confirm Layer thickness is = 0.100 mm (100 microns) or lower.
- Enable Printability Checks Minima and Cups, and verify all are greenlighted
-
Send model to Printer
- Ensure Form 4B is connected via Wi-Fi or Ethernet cable to the computer device.
- Click "Send to Printer".
- Select the correct printer name owned by the user.
- Wait for upload and confirm the print on the printer touchscreen.
Post processing
-
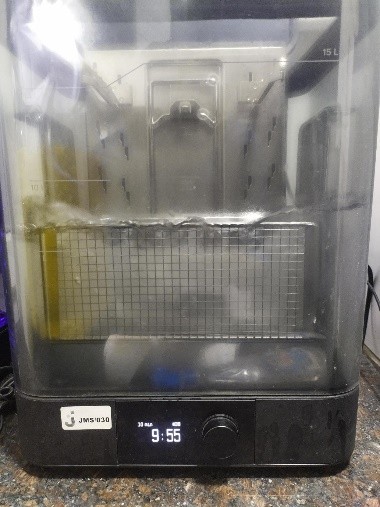
Wash the printed model
- After printing, remove the build platform and transfer it to Form Wash.
- Recommended wash time for Gray V5: 10 minutes.
- If washing manually, submerge in 99% Isopropyl Alcohol (IPA) and agitate.
- Allow parts to fully dry before handling further (air dry or use compressed air).
-
Support Removal
- Once dry, remove supports using flush cutters or finishing tools.
- Clip carefully at the touchpoint to avoid damaging the surface.
- Optional: lightly sand support marks or use a deburring tool for finishing.
-
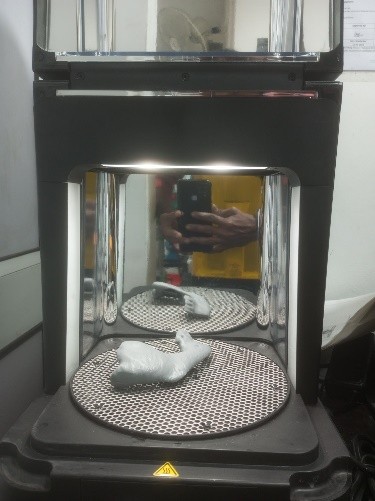
Curing
- Place washed and support-removed parts in Form Cure.
- Cure settings for Gray V5:
- Time: 15 minutes
- Temperature: 60°C
- Let parts cool down before final inspection.
-
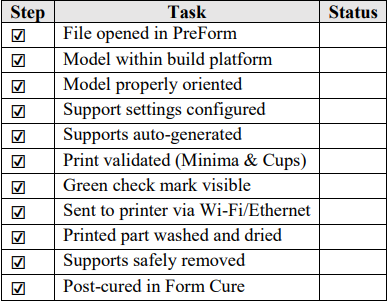
Perform final inspection: Perform a final inspection in the printed model to ensure all the details and surface quality are printed as expected for the intended application of the model. In order to assist printer operators in the overall procedure explained, the following checklist is provided to ensure all the steps are followed