Video Capture
Create videos or image sequences from various views.
- The Video Capture tool allows users to create videos or image sequences from the contents of the 3D and slice views.
Steps:
-
Click the
Capture Videobutton on the sidebar to open the video capture dialog.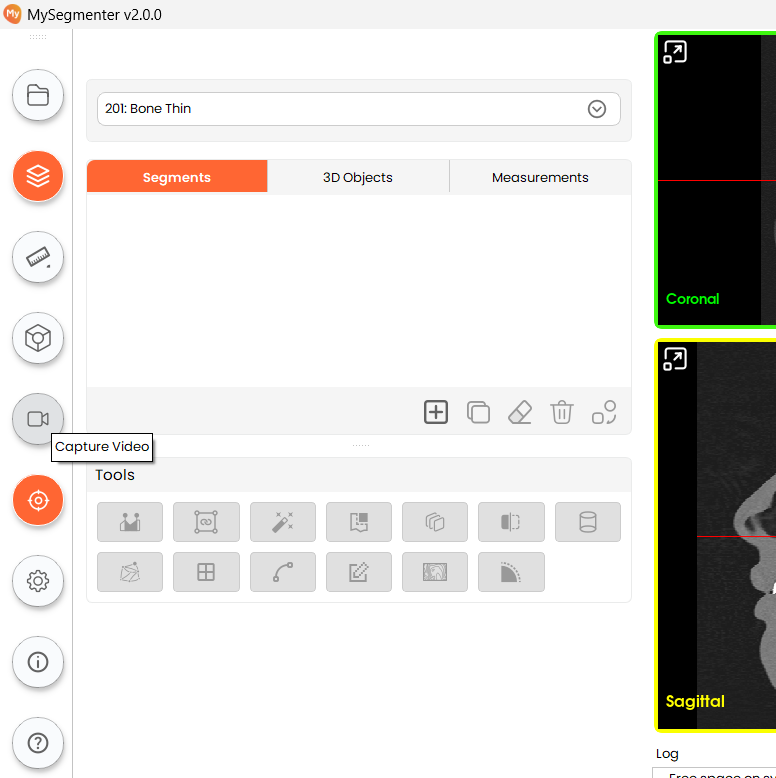
-
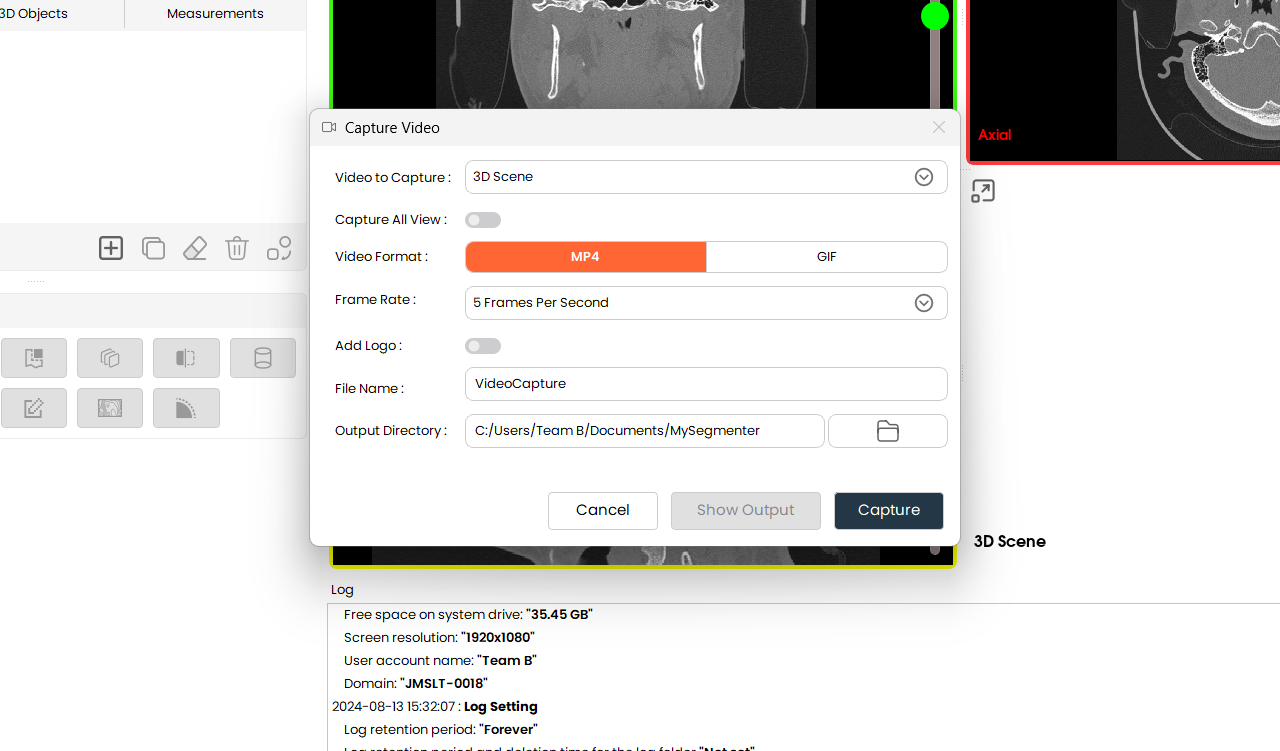
Video to Capture: Allows to select view to capture (Allows also to capture all views)
-
Video formats: Allows to select format of output video
-
Frame rate: Allows to select the frame rate of the video
-
File name: Allows user to provide name to the video file.
-
Output directory: Allows user to select output location for video generated.
Recommendations for good use
- Choose your preferred scene to capture from the
Video to Capturedropdown. Available views include 3D scene, Axial, Coronal, and Sagittal. - Enable the
Capture All Viewsbutton if you want to capture all scenes rather than just a single one. - Select either MP4 or GIF for your video output file format.
- Control the smoothness of the output video by selecting an appropriate
frame ratefrom the Frame Rate dropdown. The default is 5 frames per second. - Enable the
Add Logooption if you want the MySegmenter watermark logo to appear in the output video. - Enter the name of your output video file (without the file extension).
- Click the directory-like button to choose a destination folder to save the captured video.
- Finally, click the
Capturebutton to start video capturing and wait for it to finish. - Once the capturing process is complete, the
Show Outputbutton should be enabled. - You can manually visit the destination folder to view the captured video, or click the
Show Outputbutton to directly open the video file.