Segments
Perform common segment related operations.
Steps
-
Add Segment
- Click the "Add Segment" button to create a new, easily identifiable segment in the segment table with its own unique color and name. The segment name can be renamed by double-clicking on a segment item.
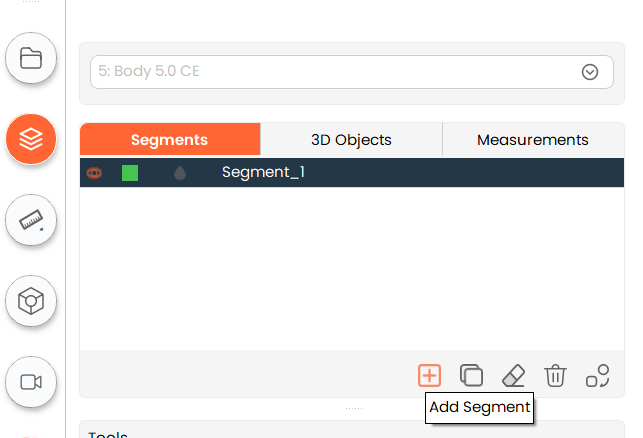
- Click the "Add Segment" button to create a new, easily identifiable segment in the segment table with its own unique color and name. The segment name can be renamed by double-clicking on a segment item.
-
Copy Segment
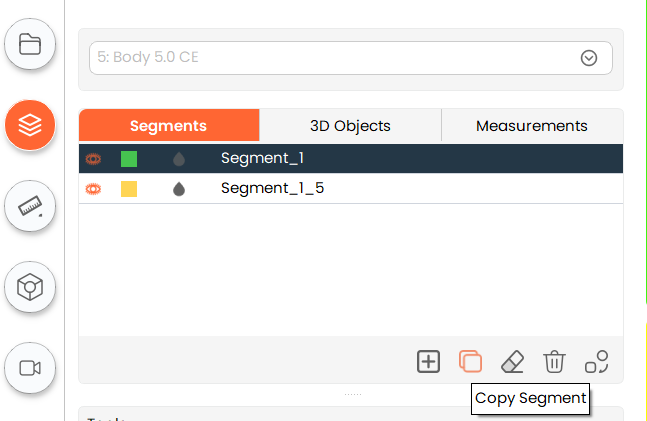
- To create a copy of an existing segment, select the existing segment and click on the "Copy Segment" button.
- To create a copy of an existing segment, select the existing segment and click on the "Copy Segment" button.
-
Clear Segment
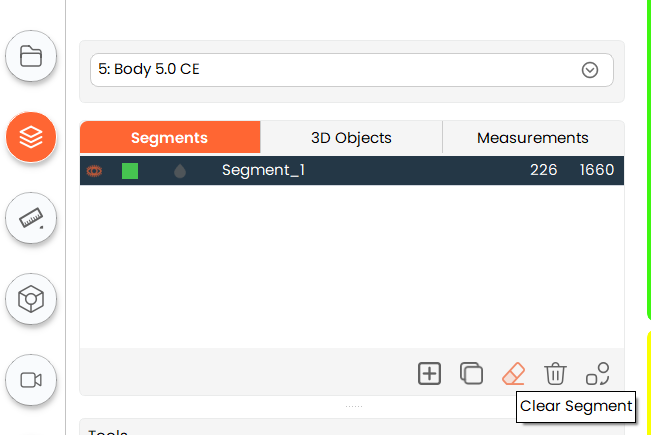
- Clear any operation performed on a particular segment by clicking on the "Clear Segment" button.
- Clear any operation performed on a particular segment by clicking on the "Clear Segment" button.
-
Delete Segment
- To delete any existing segment, select the segment you want to delete and click on the "Delete Segment" button.
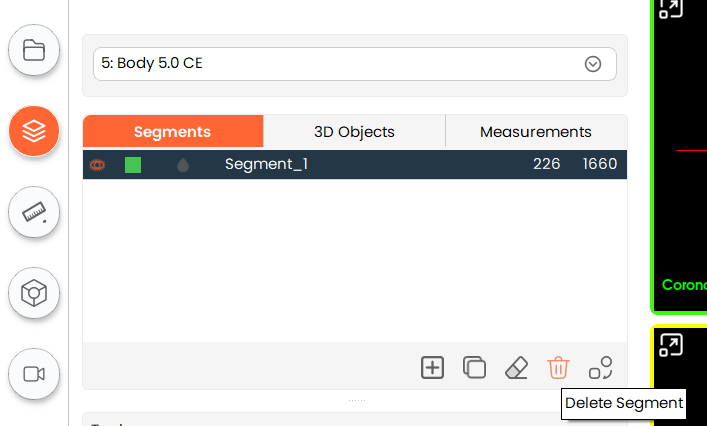
- To delete any existing segment, select the segment you want to delete and click on the "Delete Segment" button.
-
Convert Segment to Model
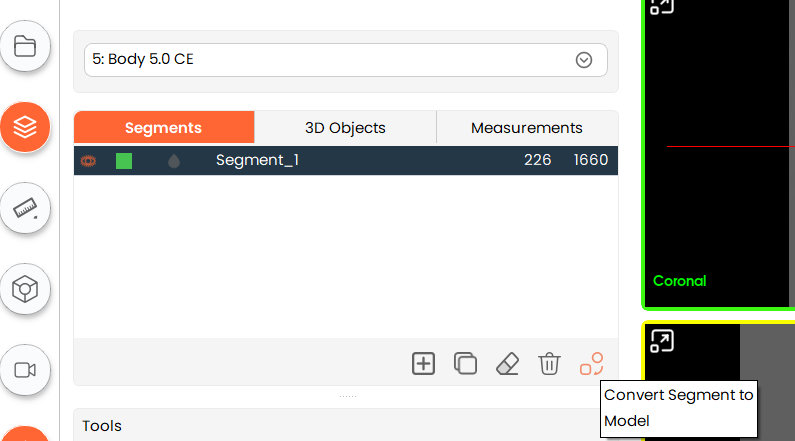
- To convert a single segment into a 3D model, click the "Convert Segment to Model" button. To convert multiple segments at once, hold down the
Shiftkey while clicking on the specific segments in the segment table.
- To convert a single segment into a 3D model, click the "Convert Segment to Model" button. To convert multiple segments at once, hold down the
Convert to segment menu:
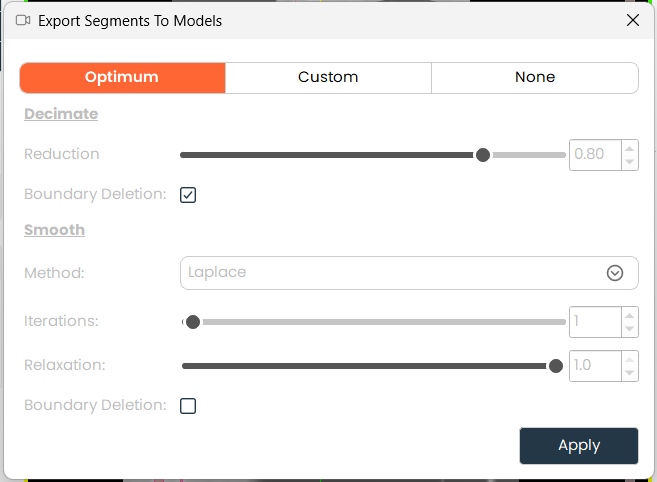
For generation of models, convert to segment to model tool offers 3 post processing parameters sets for selection:
-
Optimum: Utilize preloaded optimum parameters for model generation. These parameters are validated by MySegmenter to generate models with a good balance between smoothness and accuracy.
-
Custom Allows user to select among different parameters for the model generation.
- Reduction: Indicate percentage in number of triangles reduction on the surface contour
- Boundary deletion: allow deletion of points located on the boundary of the surface
- Iterations: Number of iterations the selected post processing parameters are applied on the generated model
- Methods: Allows to select the method for the model creation
- Laplace
- Relaxation the factor by which a point moves towards the barycentre of its neighbours in the Laplace algorithm. Higher numbers provide smoother surface.
- Taubin
- Pass band spatial frequency cutoff for the Taubin algorithm.
- Laplace
-
None Create model without apply any type of post processing
-
Note: Is strongly recommended that Optimum set parameters are utilized for models required for preplanning and diagnosis purposes. Optimum parameters are validated by MySegmenter to ensure accuracy and surface quality are preserved.
-
A dialog will appear where you can choose various settings for the resulting model. The default setting is optimal, but you can change them by clicking the "Custom" tab. Finally, click "Apply" to convert the segment.
-
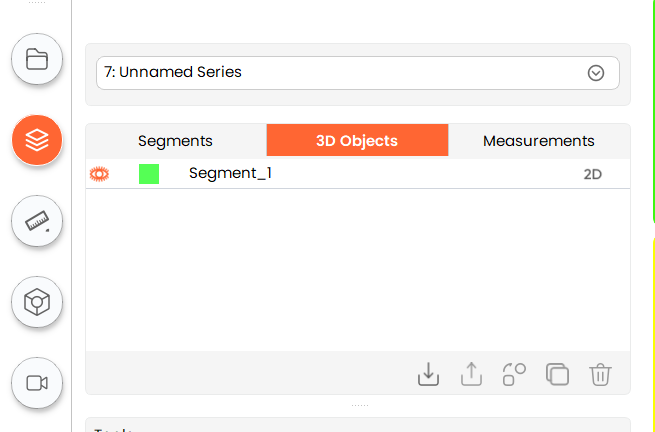
The resulting model is available under "3D Objects" section.
-