Printing guidelines
MySegmenter (v2.2.0) enables the creation of anatomical models for orthopedic and maxillofacial preoperative planning. To ensure consistent accuracy, MySegmenter Technologies conducted validation testing across 20 anatomical scenarios covering both orthopedic and maxillofacial bone structures. The guidelines below represent the validated workflow for producing clinically accurate 3D-printed models.
Validated printer:
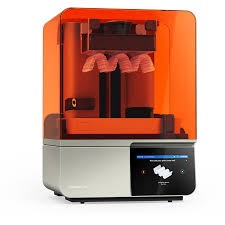
MySegmenter has validated model accuracy using the Formlabs Form 4B printer (Formlabs, Somerville, MA, USA), which employs proprietary Low Force Stereolithography (LFS) technology.Print files must be prepared using PreForm software version 4.46.1.500 from Formlabs.
.
Material selected
The validated printing material is Grey Resin V5 from Formlabs. This resin excels at capturing fine
anatomical details and supports fast, straightforward post-processing — yielding usable clinical models
in minimal time.
Printing applications:
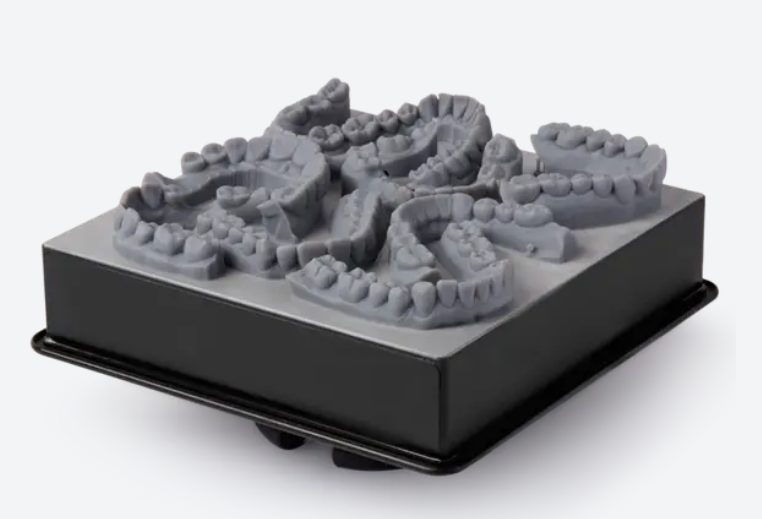
MySegmenter Technologies validated 3D printing performance across a range of maxillofacial and orthopedic scenarios. While the software is capable of producing accurate models for most applications in these fields, the following specific cases were directly validated and represent the most common clinically relevant scenarios:
-
Maxillofacial applications
- Complex fractures for skull and mandibular bones
- Temporomandibular joint disorders for mandible
- Malign neoplasms in mandible
-
Orthopedic applications:
- Congenital scoliosis case
- Fracture malunion in ankle bones, Hip bones, and long bones such as humerus, clavicle, and tibia
- Hip dysplasia
Precaution: For any other clinical cases, it comes under user responsibility to perform additional verification with expert clinical professionals to ensure the usability of the printed models.
Calibration of printer
To prevent printing inaccuracies caused by equipment calibration drift, it is strongly recommended that users calibrate the Form 4B printer, Form Wash, and Form Cure devices according to Formlabs' Installation Qualification (IQ), Operational Qualification (OQ), and Performance Qualification (PQ) protocols.
3D Printing process
The procedure below is validated by MySegmenter Technologies to produce models of appropriate accuracy for the listed maxillofacial and orthopedic applications. Always verify segmentation quality before printing to confirm that all required anatomical features are captured.
-
Open the preform
- Start the Preform software version 4.46.1.500, and start user session
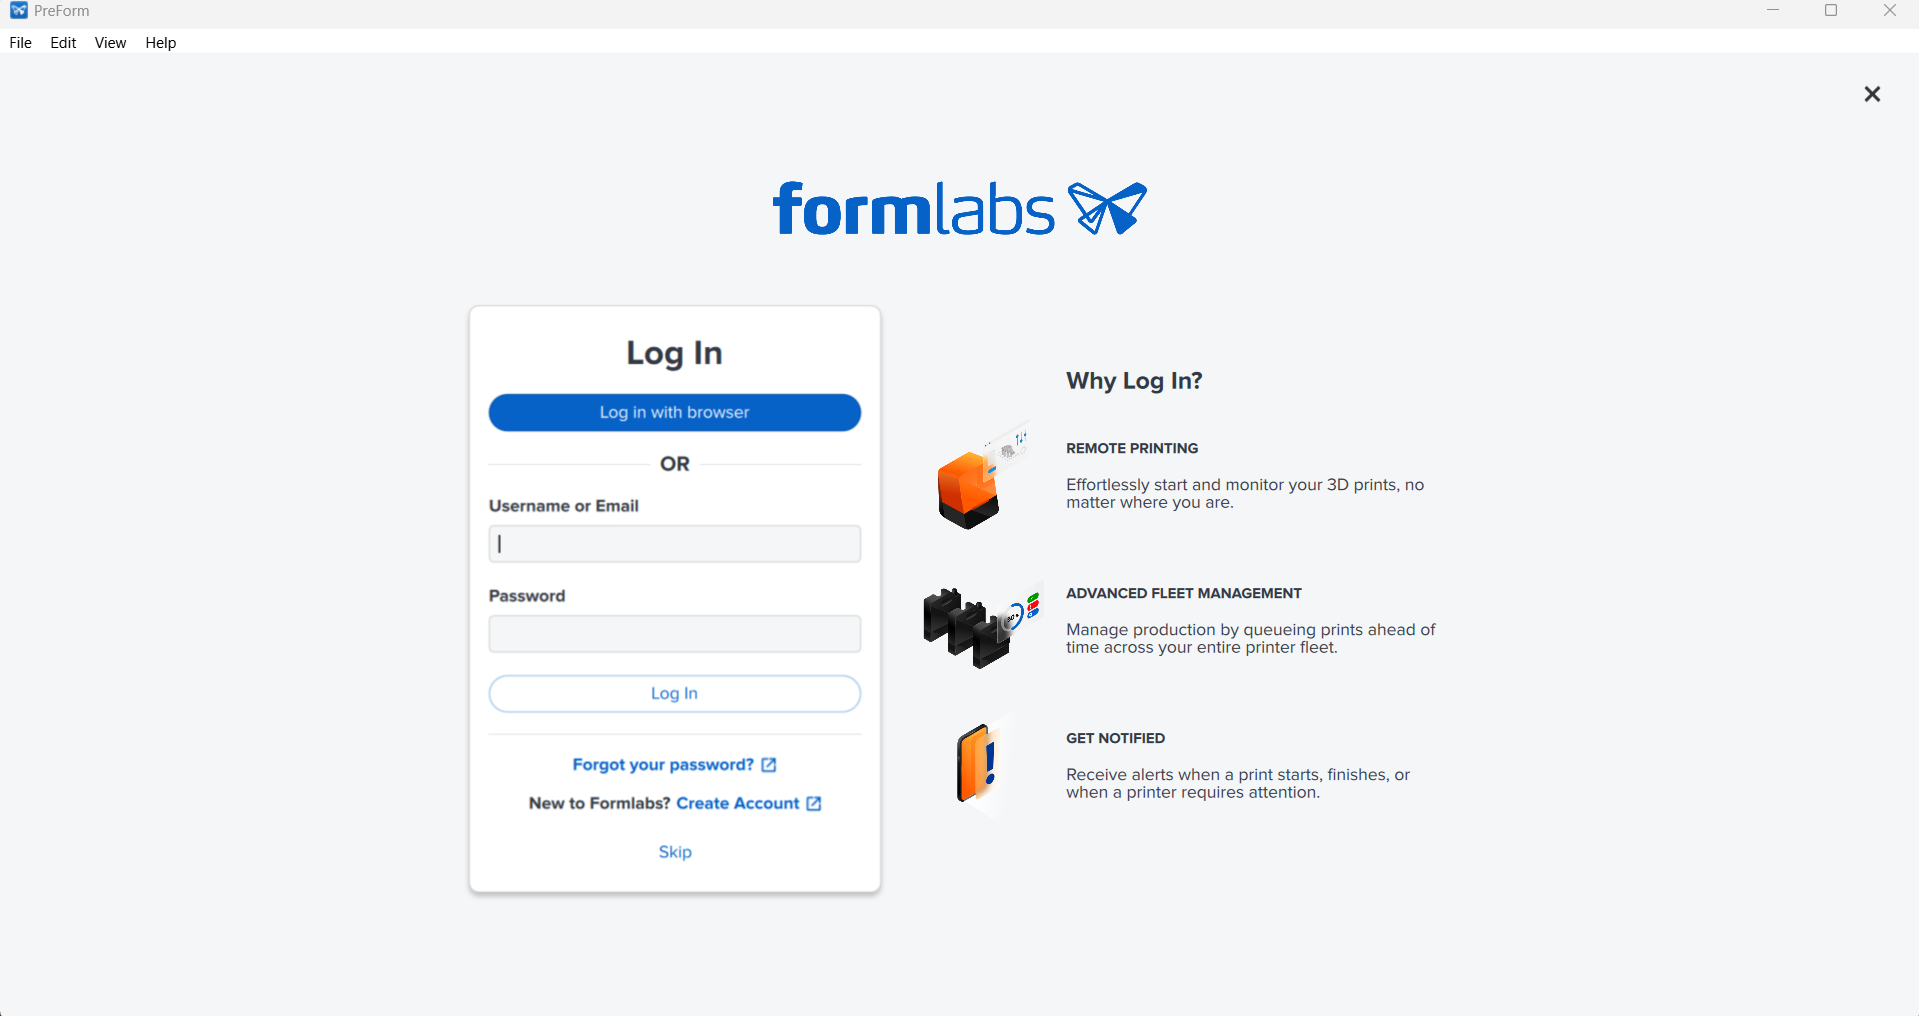
- Start the Preform software version 4.46.1.500, and start user session
-
Select printer
- Select the Form 4B as the target printer. This is the only printer validated for use with MySegmenter (v2.2.0) anatomical models.
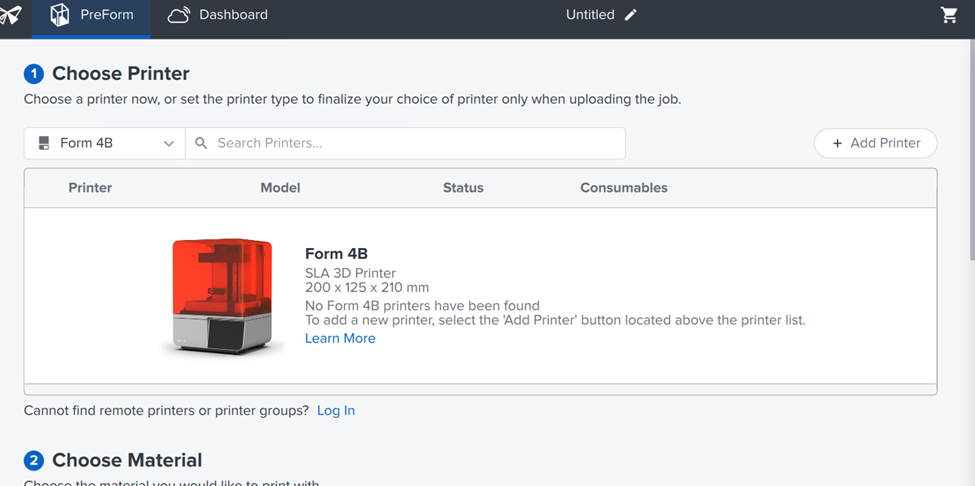
- Select the Form 4B as the target printer. This is the only printer validated for use with MySegmenter (v2.2.0) anatomical models.
-
Select the material for printing
- Select Grey Resin V5 as the print material. This is the validated resin for MySegmentergenerated anatomical models
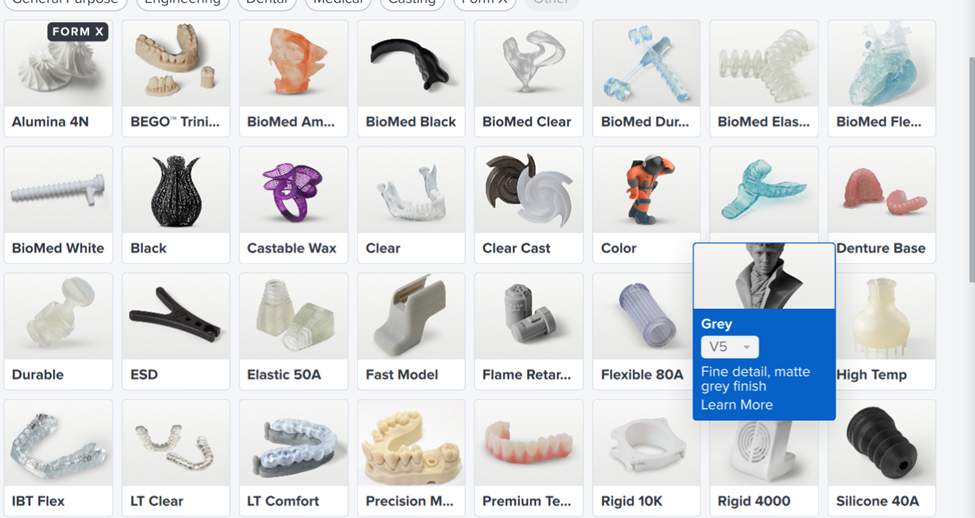
- Select Grey Resin V5 as the print material. This is the validated resin for MySegmentergenerated anatomical models
-
Choose initial settings.
- Configure the initial print settings, including layer thickness and print mode, to establish the printing environment.
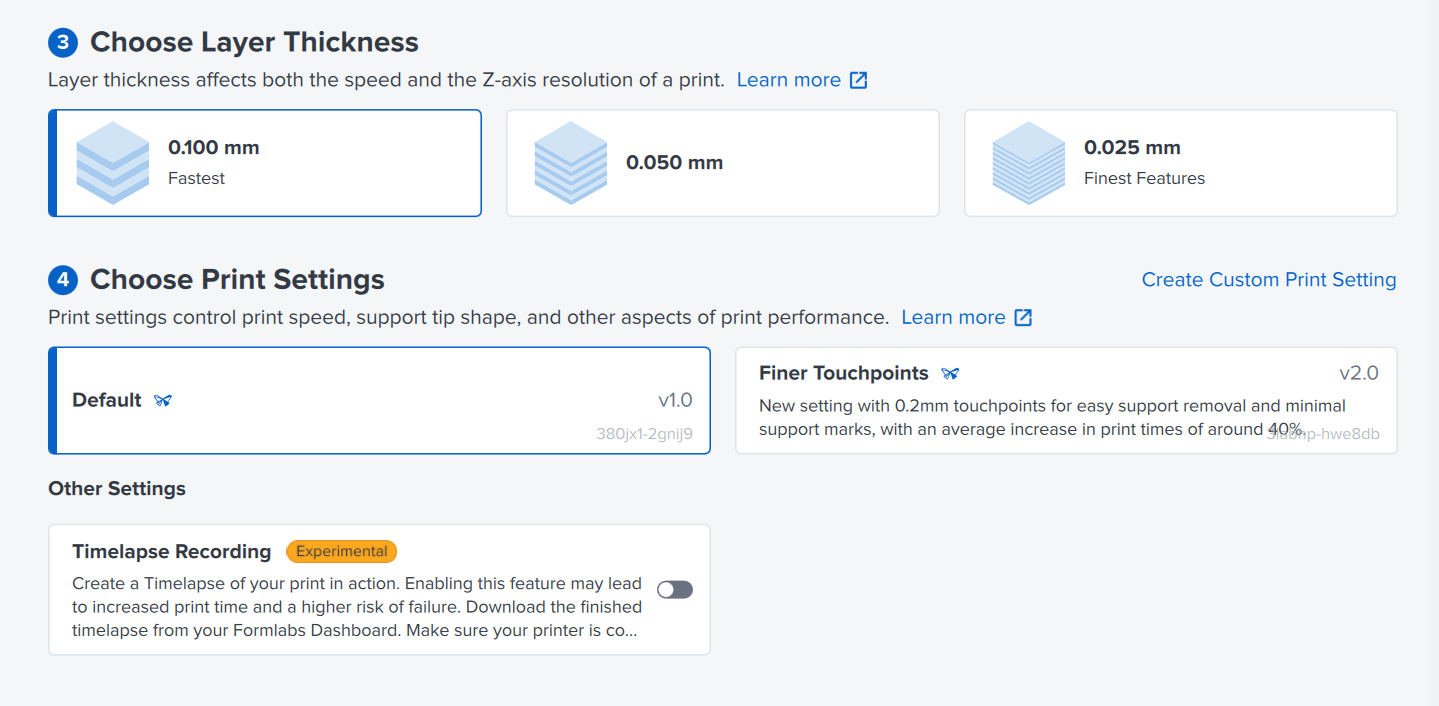
- Configure the initial print settings, including layer thickness and print mode, to establish the printing environment.
-
Open and prepare the models
- Click Open and select the 3D model file exported from MySegmenter (.STL, .OBJ, or .3MF format).
- Confirm the model fits within the orange build platform boundary
- If the model exceeds the printable area, adjust its scale or position accordingly.
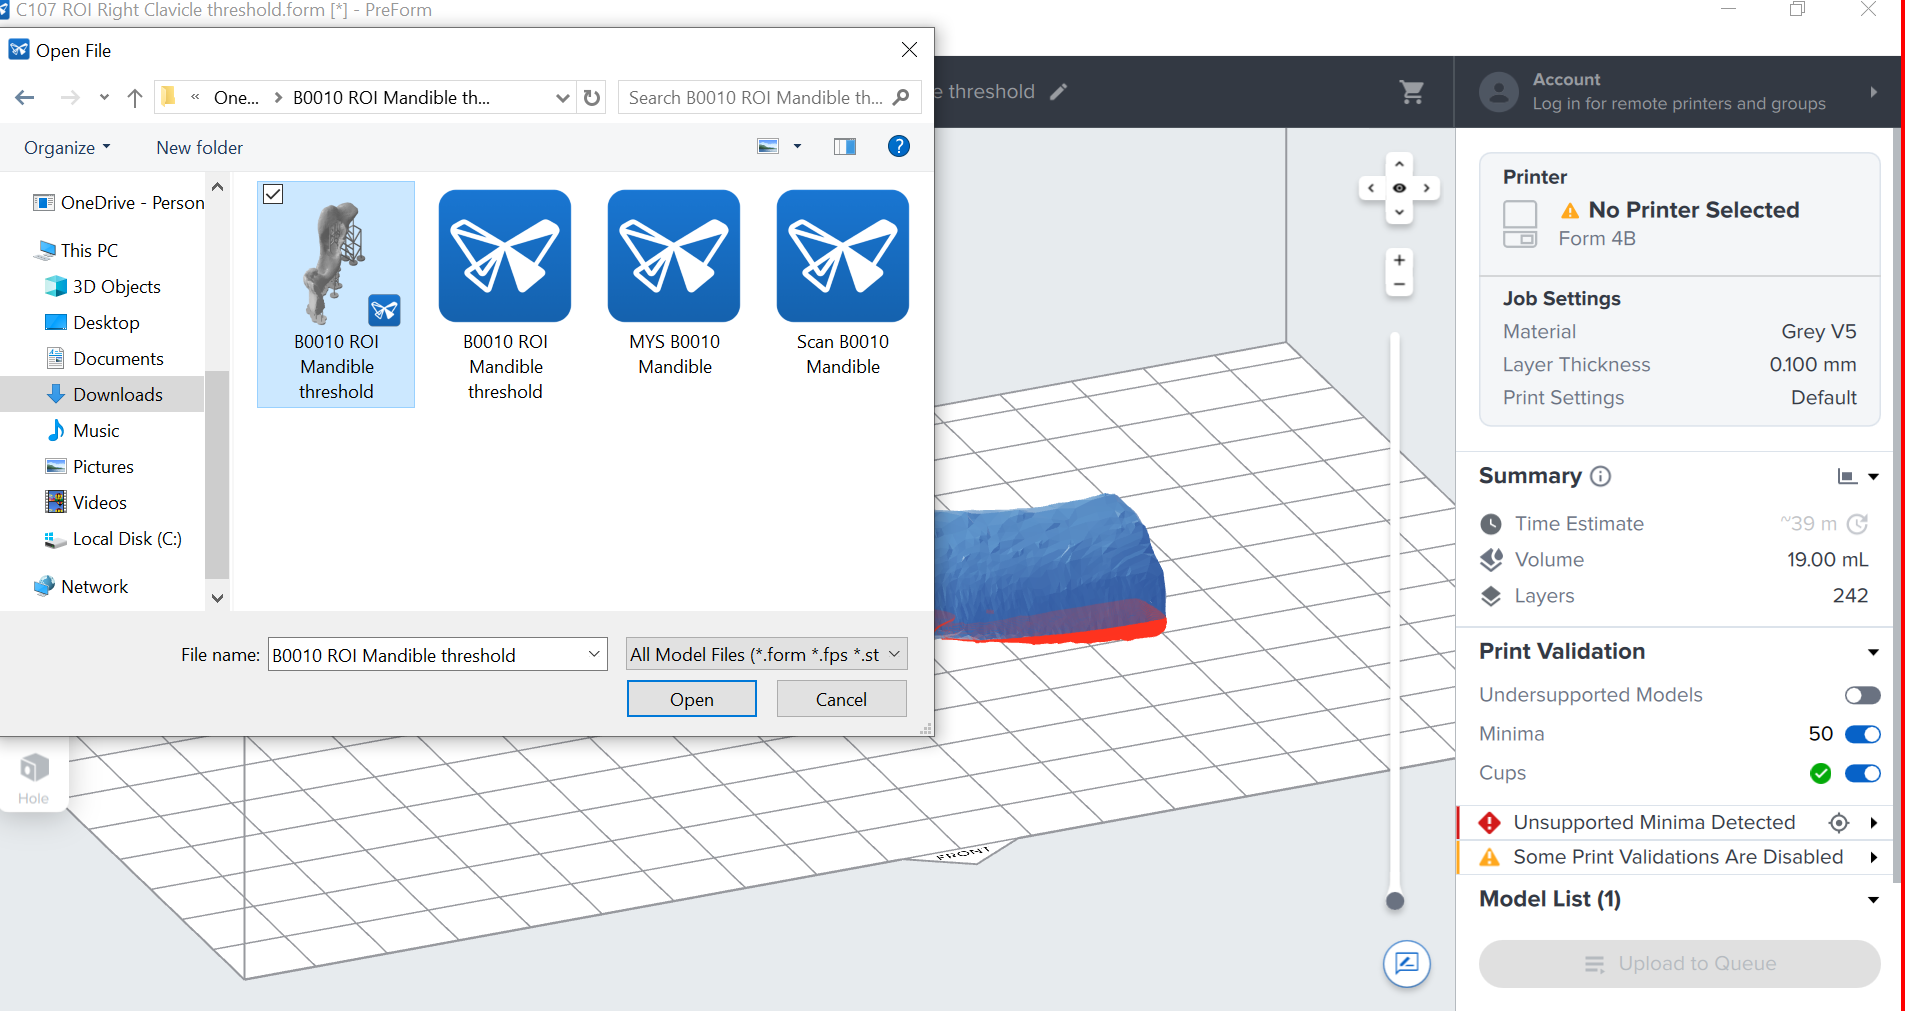
- If the model exceeds the printable area, adjust its scale or position accordingly.
-
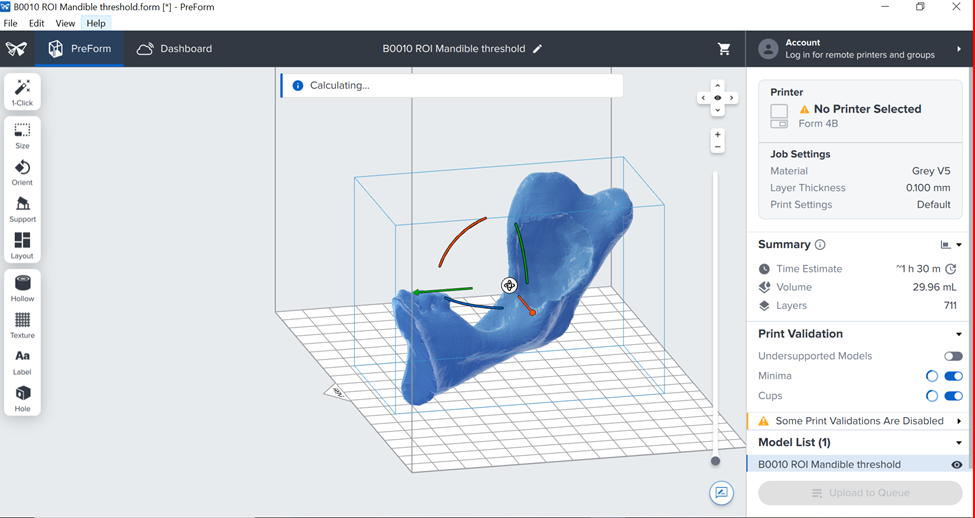
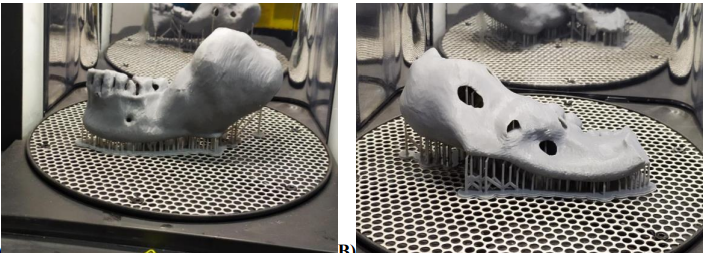
Orient the model:
-
Orientation has a major impact on print quality, support usage, and surface finish. For best results, center the model on the 14.5 cm × 14.5 cm build platform and orient it to:
- Minimize total support material.
- Position support contact points away from critical anatomical surfaces.
- Orient flat or cosmetically important surfaces to face upward. Note: Avoid large downward-facing overhangs where possible.
-
-
Configure Support Settings:
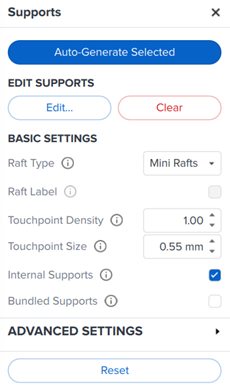
- Open the Support panel in PreForm and configure the following validated support parameters:
- Open the Support panel in PreForm and configure the following validated support parameters:
Validated Support settings
| Setting | Value |
|---|---|
| Raft Type | Full Raft |
| Touchpoint Density | 1.0 |
| Touchpoint Size | 0.55 mm |
| Internal Supports | Always On |
| Slope Multiplier | 1.0 |
| Height Above Raft | 5.00 mm |
| Raft Thickness | 1.5 mm |
-
Click in "Auto Generate Selected".
-
Review the generated supports and manually adjust as needed. Aim for stability with the minimum number of support touchpoints to reduce post-processing effort.
-
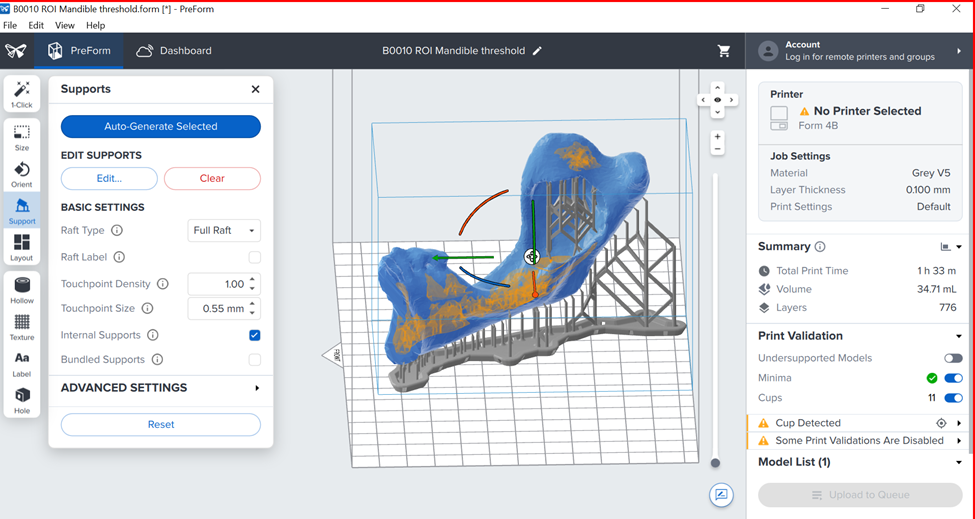
Validate and Review the Print
- Check the estimated print time and resin consumption shown in PreForm to confirm the print is feasible for your available resources.
- Verify that the layer thickness is set to 0.100 mm (100 microns) or finer. This resolution is necessary to accurately capture the anatomical surface features of the models.
- Enable the Minima and Cups printability checks and confirm that all indicators display green before proceeding.
-
Send model to Printer
- Confirm the Form 4B printer is connected to the computer via Wi-Fi or Ethernet.
- Click "Send to Printer".
- Select your specific Form 4B printer from the list of available devices.
- Wait for the file to upload, then confirm the print job on the printer's touchscreen.
Post processing
-
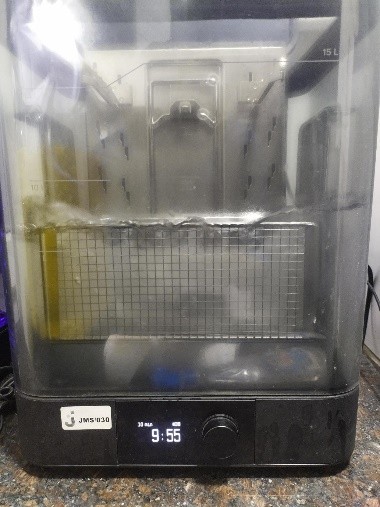
Wash the printed model
- After the print completes, remove the build platform from the printer and transfer it to the Form Wash unit.
- Wash time for Grey Resin V5: 10 minutes.
- If washing manually, submerge the parts in 99% Isopropyl Alcohol (IPA) and agitate gently.
- Allow parts to dry completely before proceeding — either air dry or use compressed air to speed drying.
-
Support Removal
- After drying, remove support structures using flush cutters or finishing tools.
- Cut carefully at each support touchpoint to avoid marking or damaging the model surface.
- Optionally, lightly sand any remaining touchpoint marks or use a deburring tool for a cleaner finish.
-
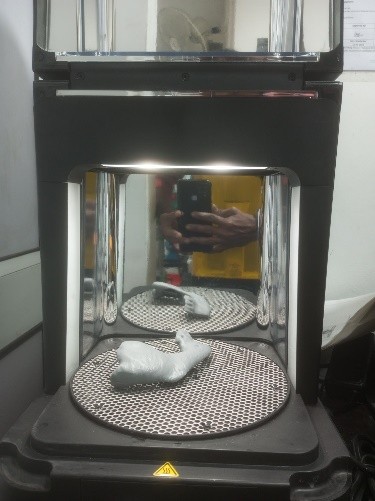
Curing
- Place washed and support-removed parts in Form Cure.
- Cure settings for Grey Resin V5:
- Time: 15 minutes
- Temperature: 60°C
- Let parts cool down before final inspection.
-
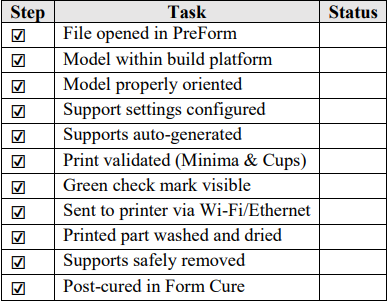
Perform final inspection: Inspect the finished model to verify that all anatomical details and surface quality meet the requirements for the intended clinical application. Use the checklist below to confirm all steps were completed correctly.