Volume Rendering
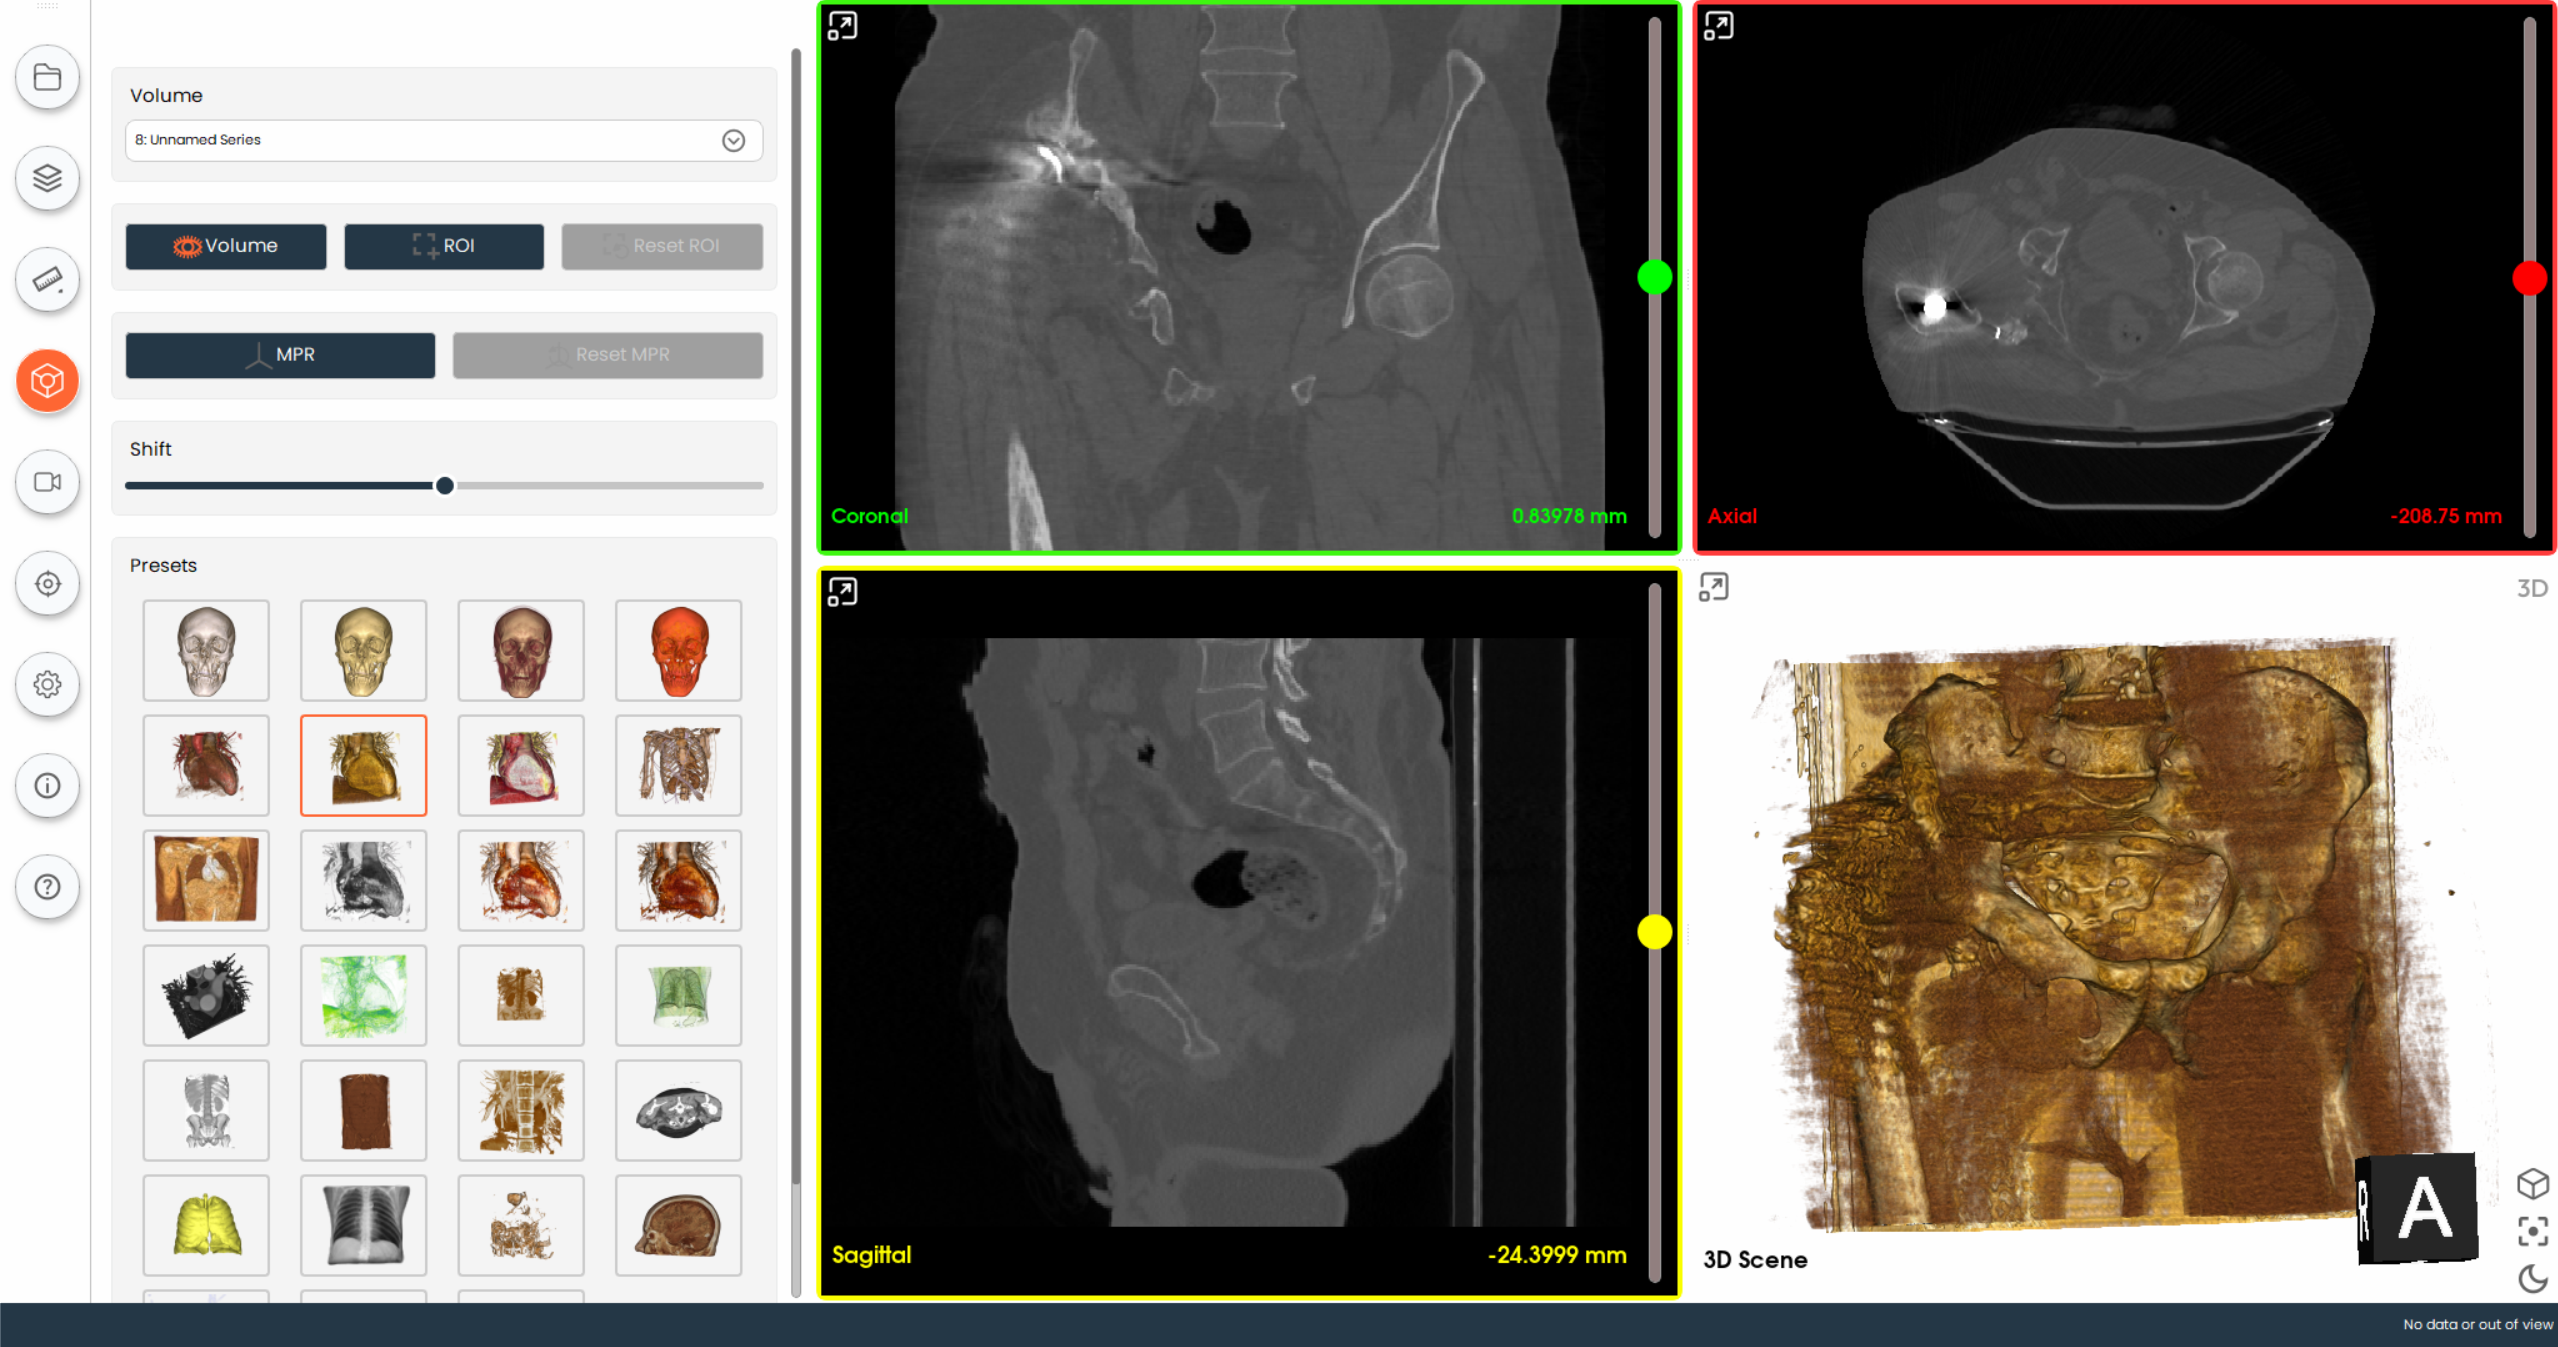
Volume Rendering provides a direct 3D visualization of the loaded DICOM dataset, allowing you to explore anatomy before and after segmentation.
Select Volume Rendering
- Click the Volume Rendering button in the sidebar to open the volume rendering module.

Select a Volume
- Use the dropdown menu labeled
Select a Volumeto choose the volumetric dataset you wish to visualize.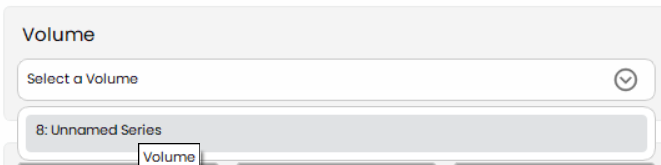
View Volume
- Click on the
Volumebutton to view the entire volume rendering in the 3D scene.
Define and Reset ROI
-
Define ROI:
- Click on the
ROIbutton to define a Region of Interest within the volume. - Drag the handles on the ROI box to enclose the anatomical region you want to focus on.
- Click on the
-
Use the sliders to precisely adjust the ROI boundaries in each direction.

-
Reset ROI:
- Once the ROI is defined, click on the
Reset ROIbutton to reset the ROI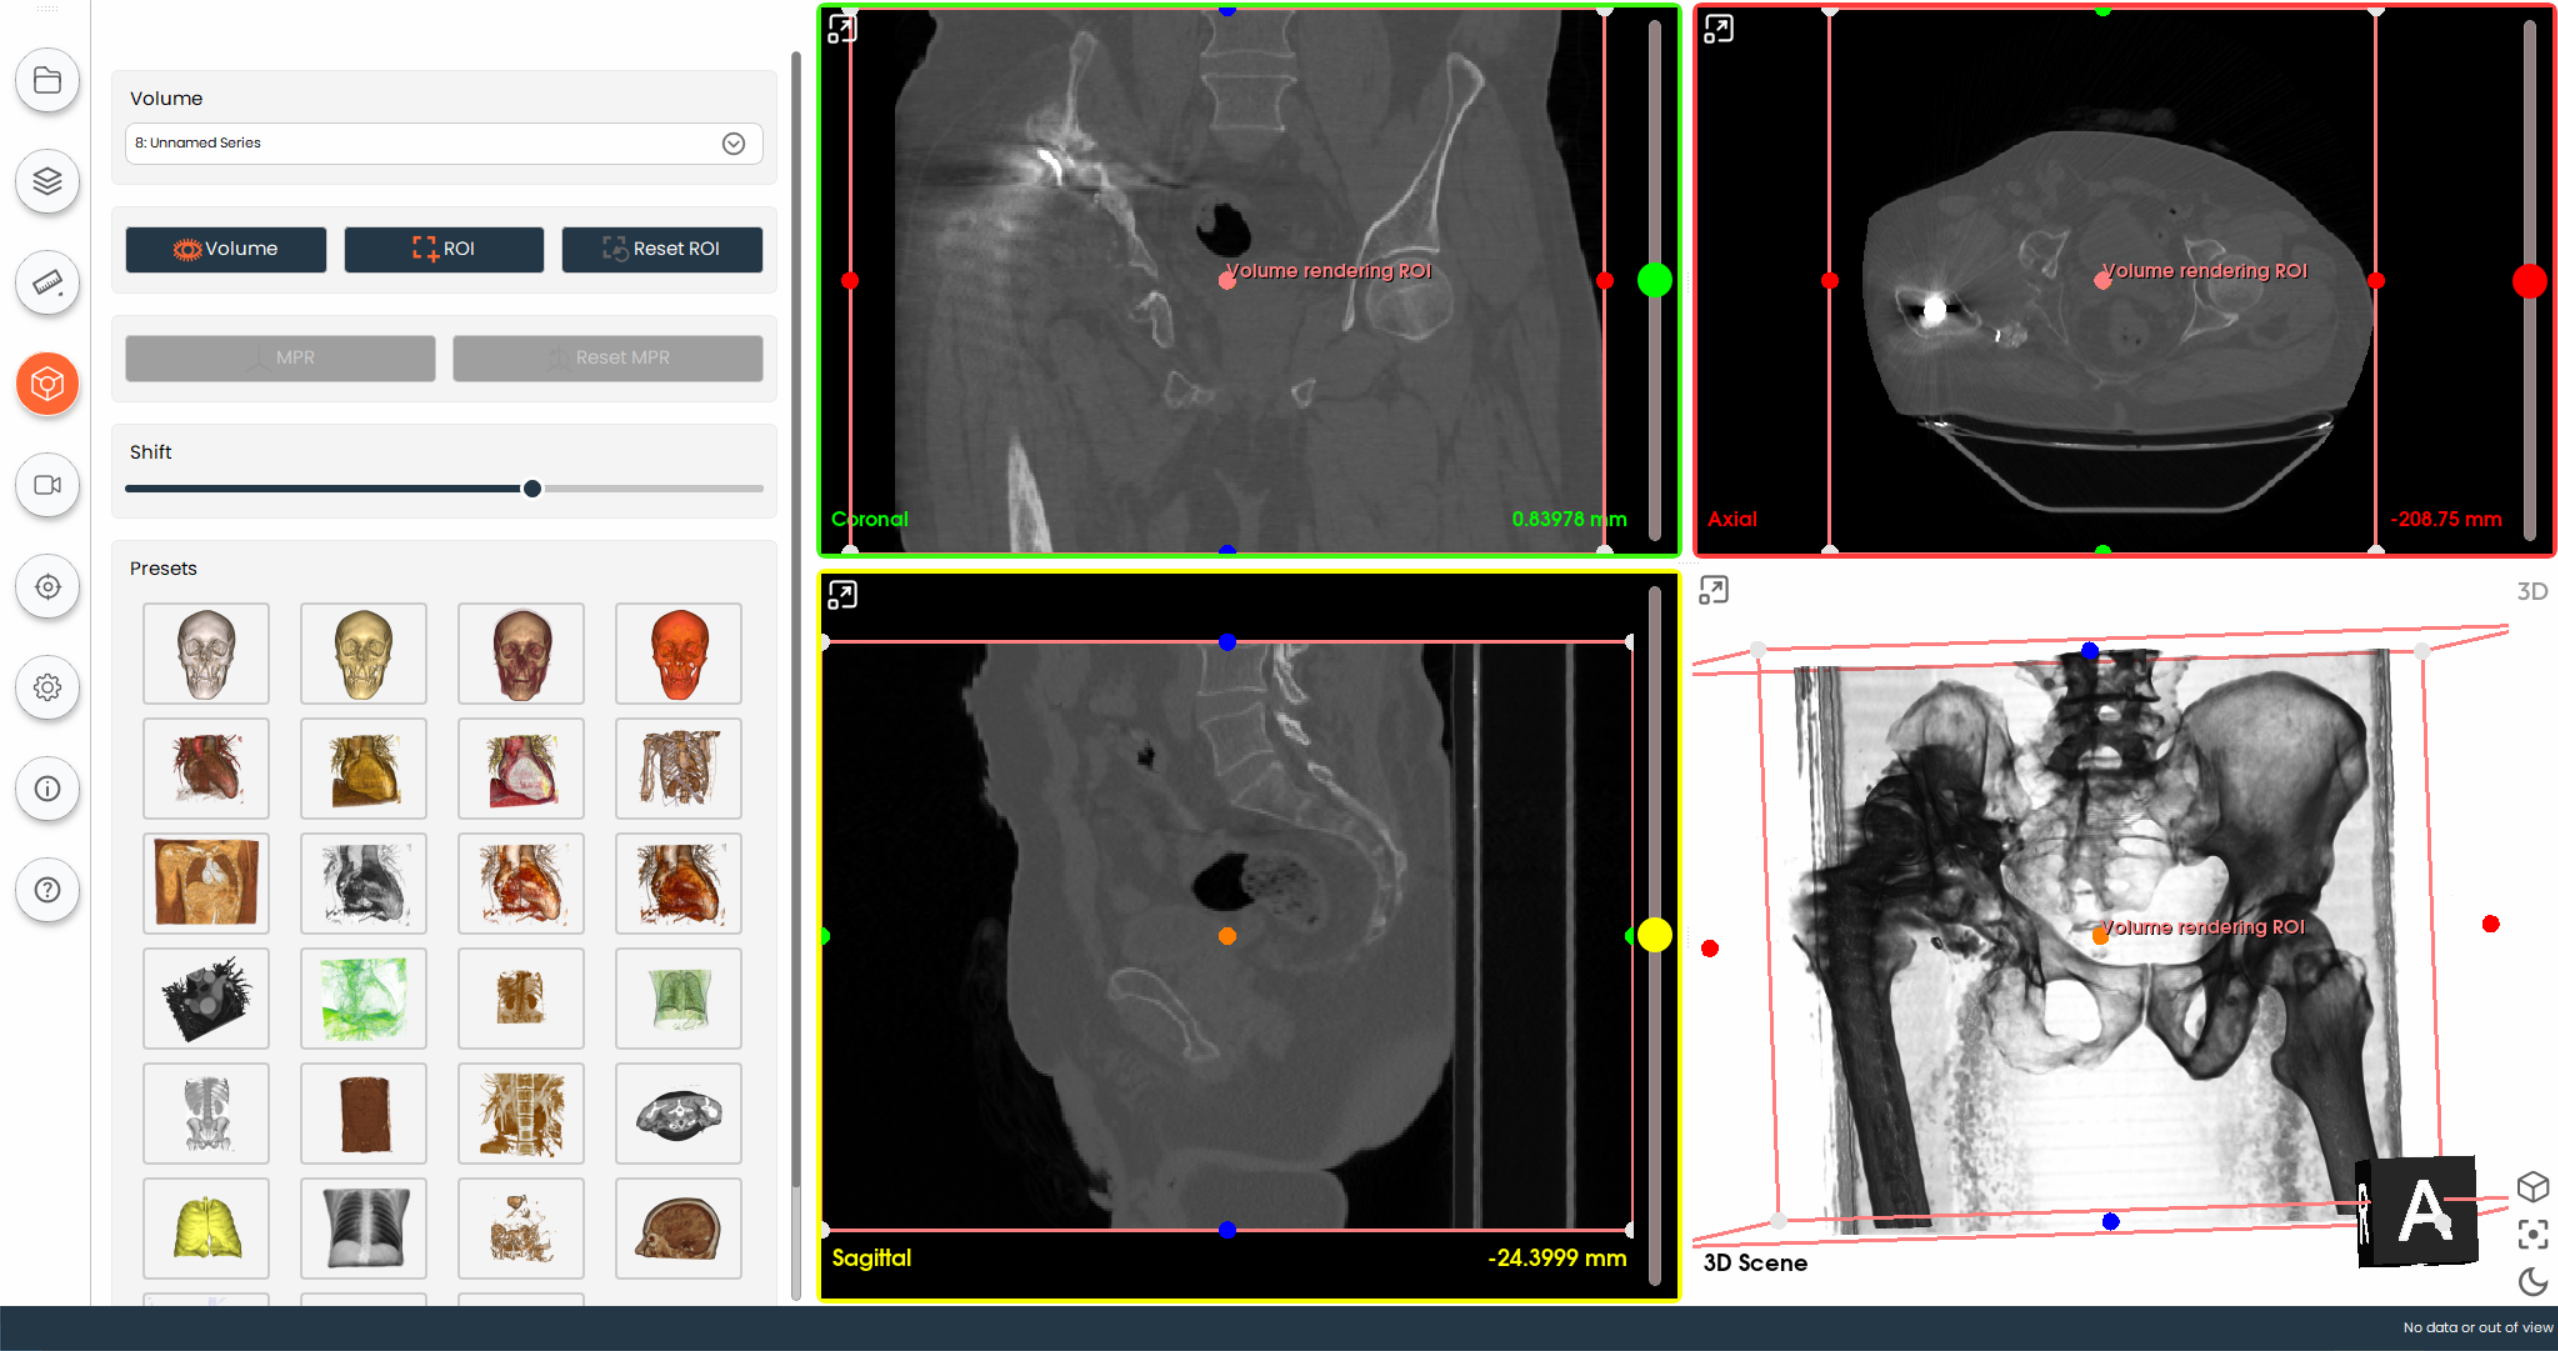
- Once the ROI is defined, click on the
Navigate Multiplanar Reconstruction (MPR) Views
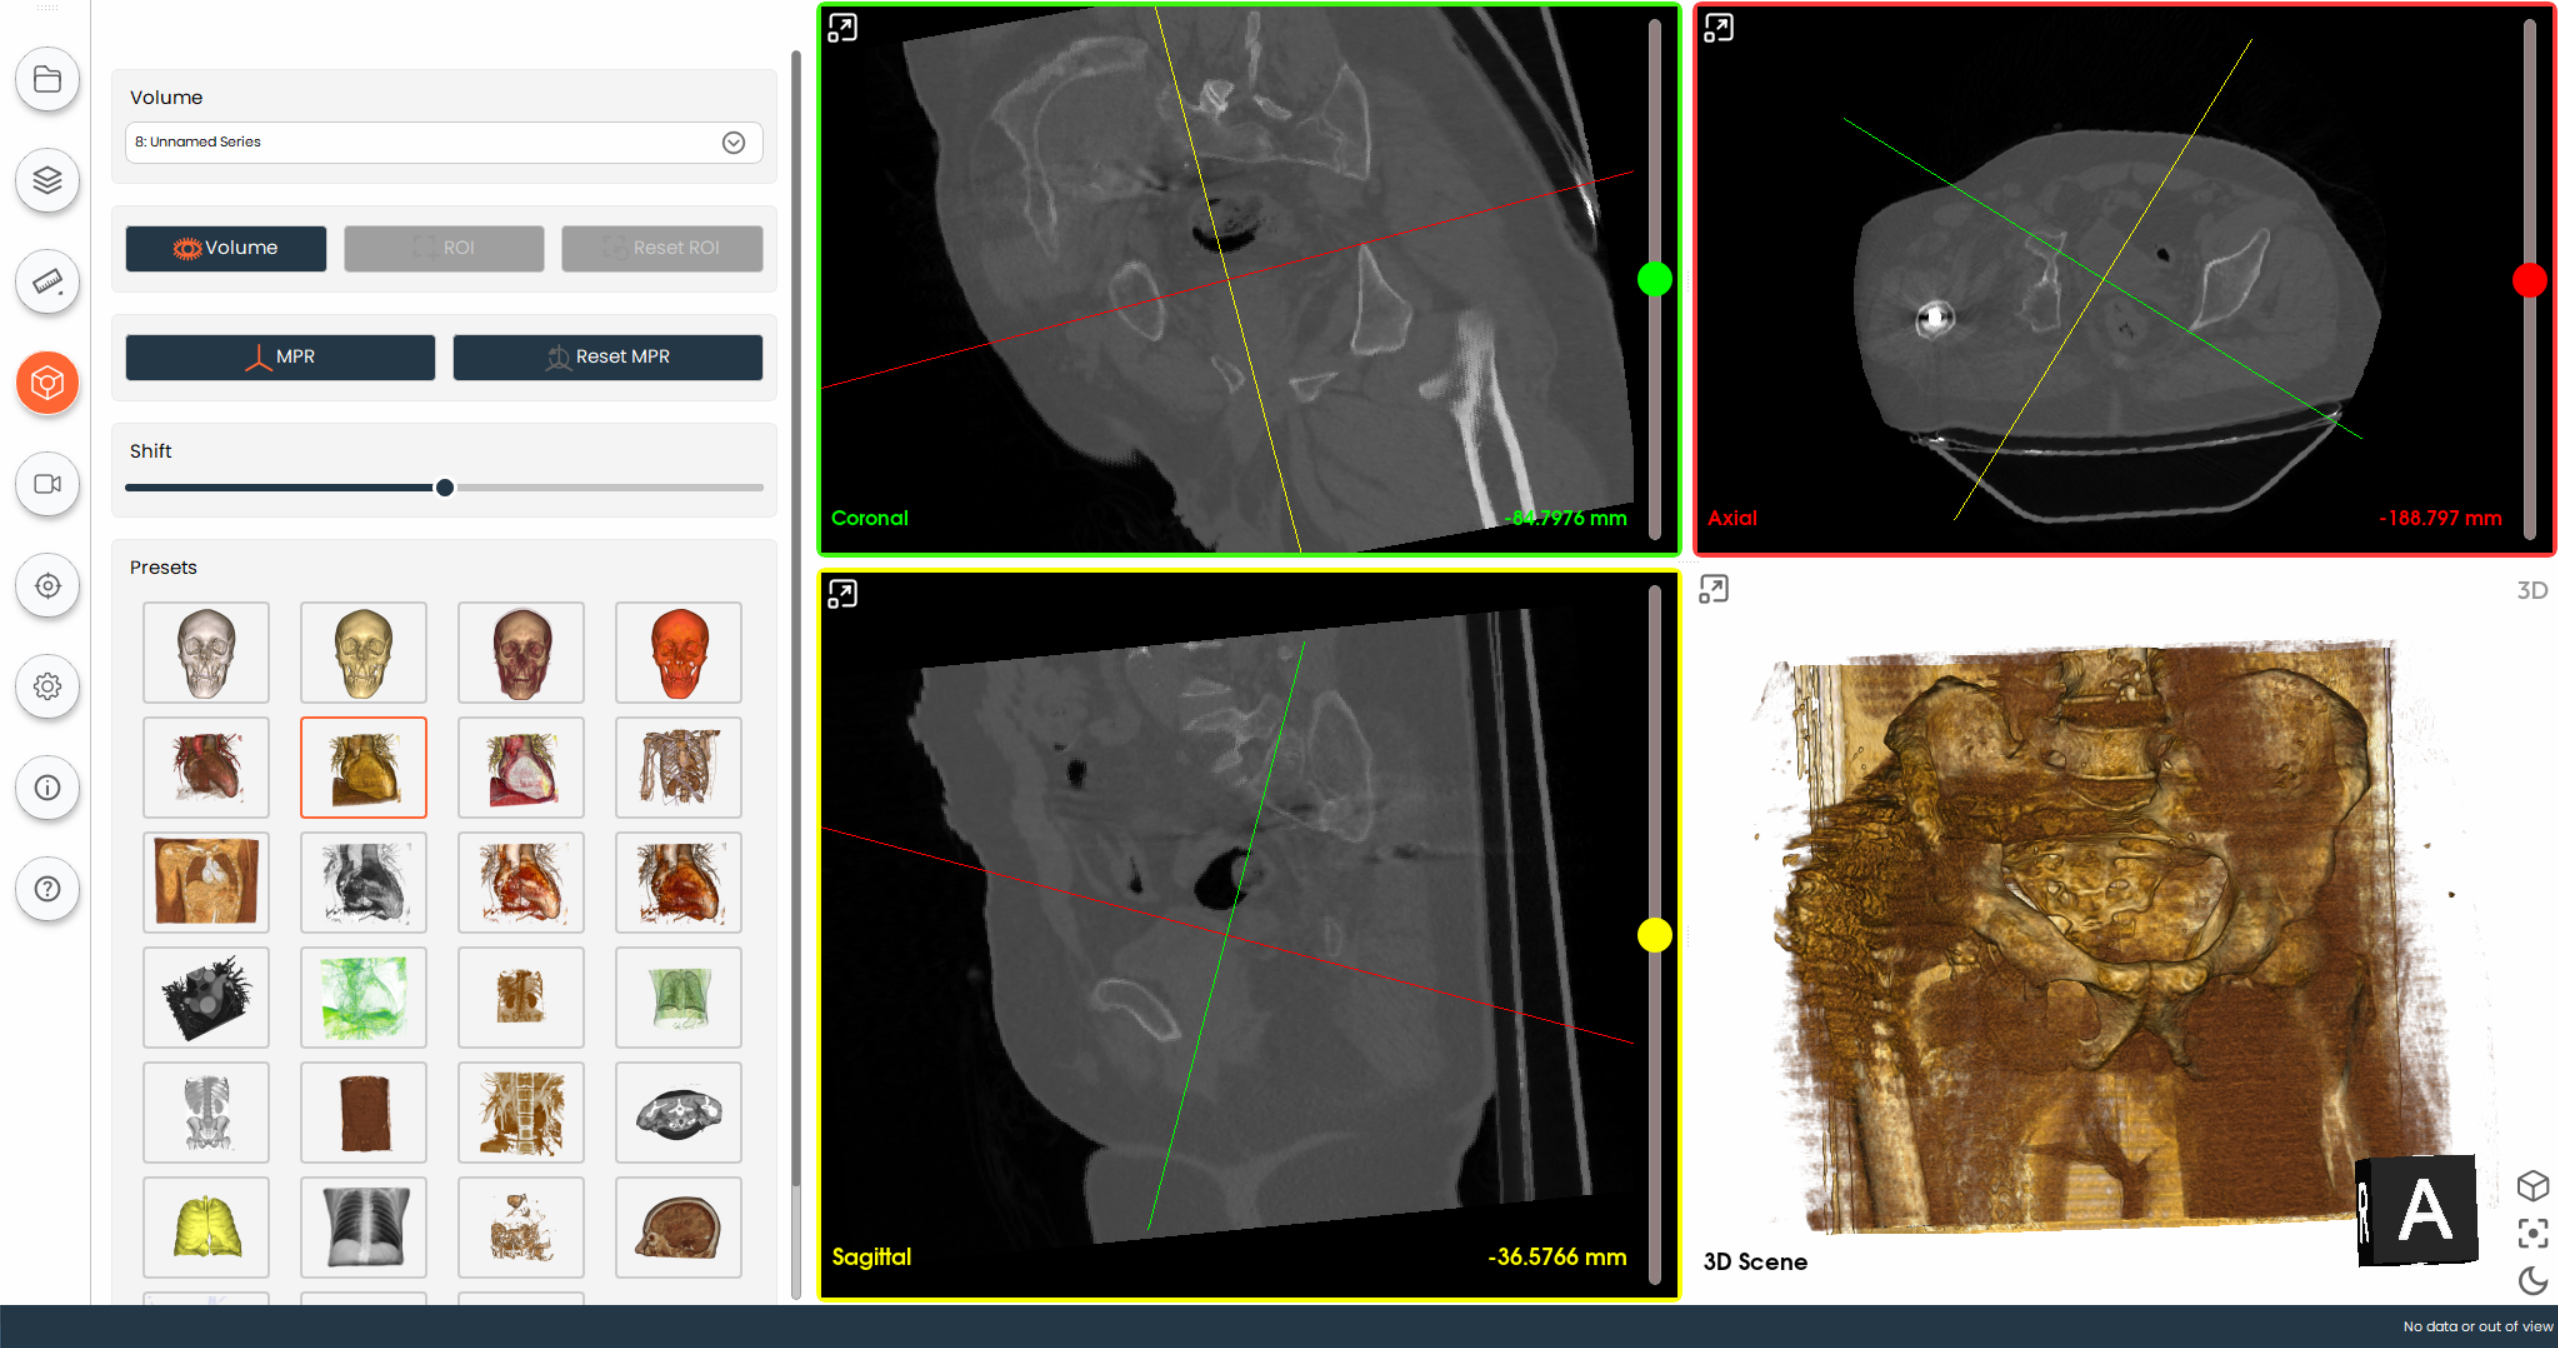
- In the MPR views, drag the colored intersection lines to reposition the cutting planes, enabling you to explore different cross-sections of the volume.
Adjust Volume Rendering
- Use the slider under the
Shiftlabel to adjust the intensity threshold of the volume rendering. This helps in highlighting specific structures within the volume.

Apply Presets
- Click a preset thumbnail to instantly apply an optimized rendering configuration for a specific anatomical region or scan type (e.g., head, chest, abdomen, bone).