Video Capture
The Video Capture tool records the contents of any view — 3D scene or 2D slices — and exports the result as an MP4 video or GIF.
Steps:
- Video Capture enables recording of the 3D scene and individual slice views for documentation, presentations, or sharing purposes.
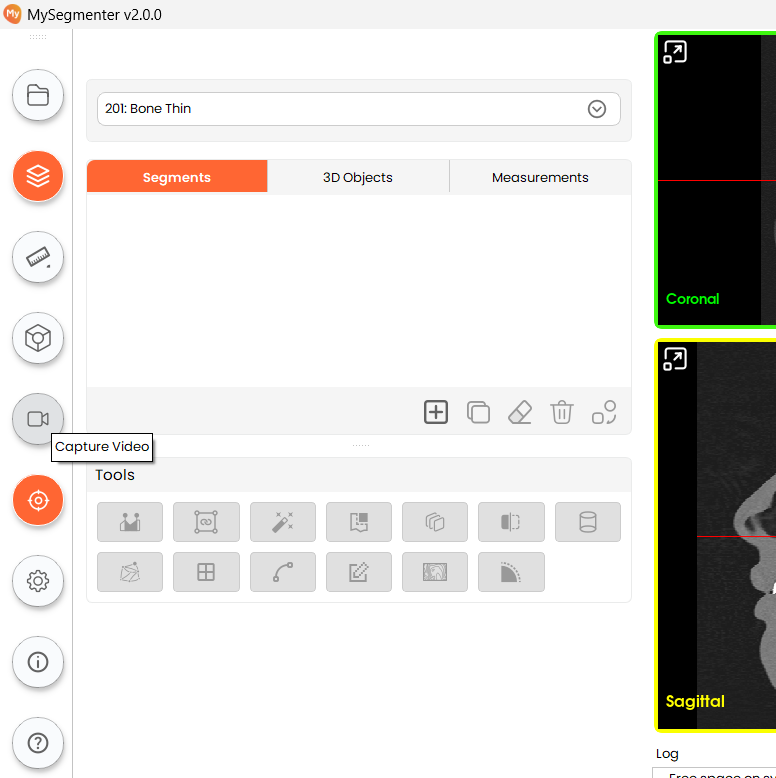
- Click the Capture Video button in the sidebar to open the video capture configuration panel.
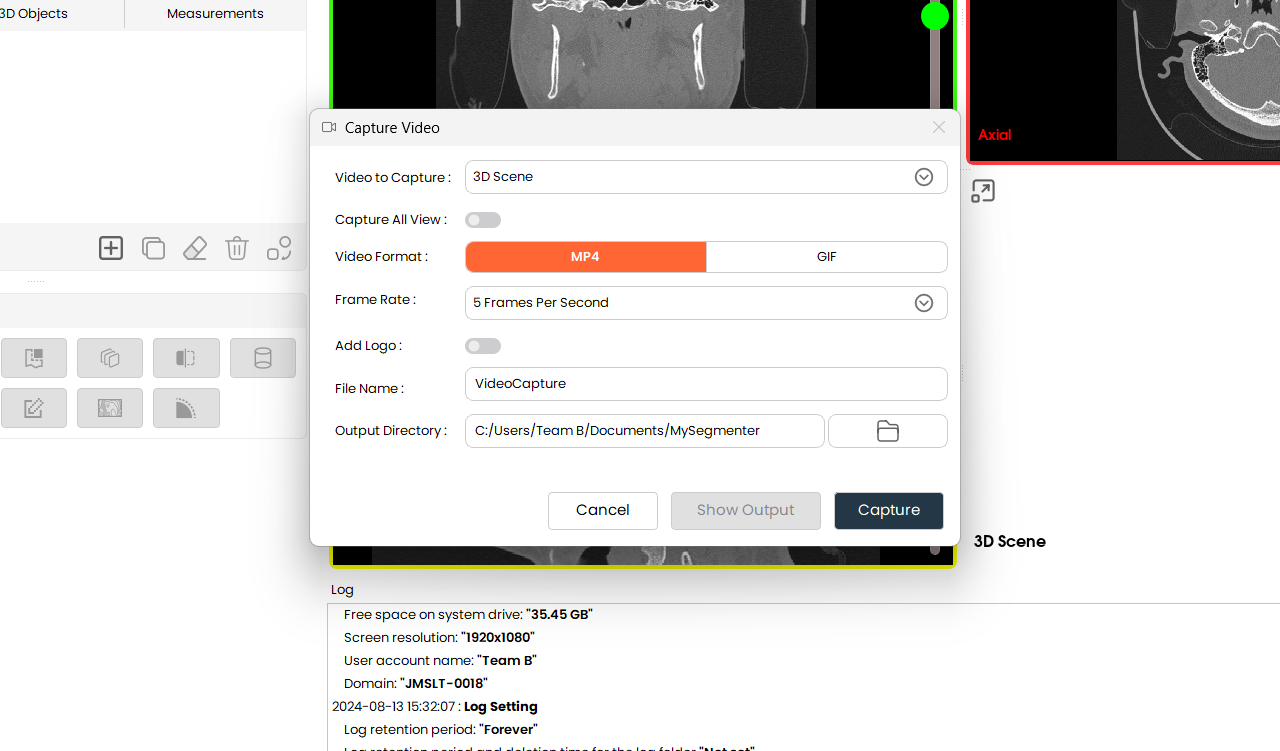
- Video to Capture: Video to Capture: Select which view to record, or enable Capture All Views to record every panel simultaneously.
- Video formats: Video Format: Choose between MP4 (compressed, widely compatible) or GIF (looping animation).
- Frame rate: Frame Rate: Set the number of frames per second. Higher rates produce smoother video but larger files.
- File name: File Name: Enter the desired output file name (without the file extension).
- Output directory: Output Directory: Click the folder button to select where the video file will be saved
Recommendations for good use
- Select the view to capture from the dropdown. Options include the 3D Scene, Axial, Coronal, and Sagittal views.
- Enable Capture All Views to simultaneously record every open view into a single output.
- Choose MP4 for standard video or GIF for a looping animation.
- Select a frame rate from the dropdown. The default of 5 fps is suitable for most documentation purposes; increase it for smoother, more cinematic output.
- Enable Add Logo to overlay the MySegmenter watermark in the output video.
- Type the output file name (no extension needed; it is added automatically based on the selected format).
- Click the folder button to select a save destination for the captured video file.
- Click Capture to begin recording. A progress indicator will show the capture status.
- When recording is complete, the Show Output button becomes active.
- Click Show Output to open the captured file directly, or navigate manually to the output directory to locate it.