Segments
Create, manage, and organize segments using the toolbar controls described below.
Steps
-
Add Segment
- Click the "Add Segment" button to create a new, easily identifiable segment in the segment table with its own unique color and name. The segment name can be renamed by double-clicking on a segment item.
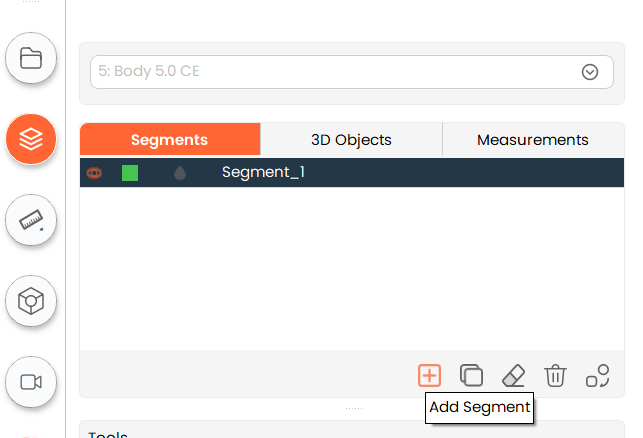
- Click the "Add Segment" button to create a new, easily identifiable segment in the segment table with its own unique color and name. The segment name can be renamed by double-clicking on a segment item.
-
Copy Segment
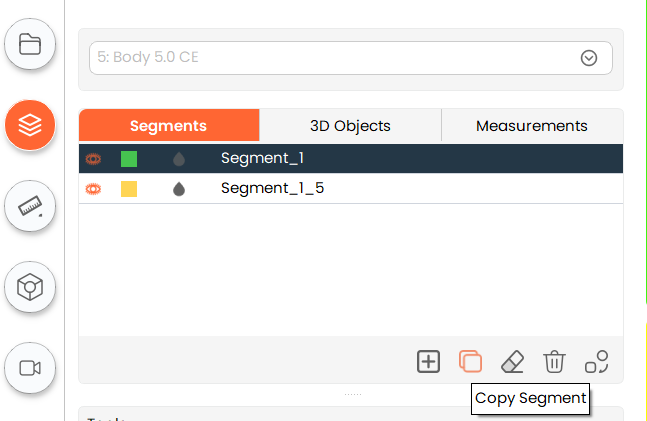
- To create a copy of an existing segment, select the existing segment and click on the "Copy Segment" button.
- To create a copy of an existing segment, select the existing segment and click on the "Copy Segment" button.
-
Clear Segment
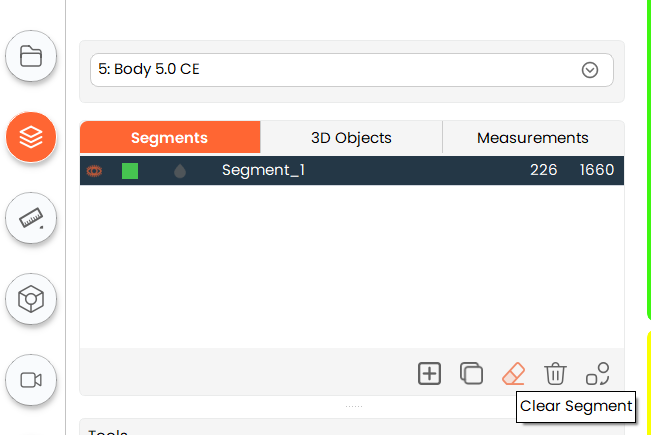
- Clear any operation performed on a particular segment by clicking on the "Clear Segment" button.
- Clear any operation performed on a particular segment by clicking on the "Clear Segment" button.
-
Delete Segment
- To delete any existing segment, select the segment you want to delete and click on the "Delete Segment" button.
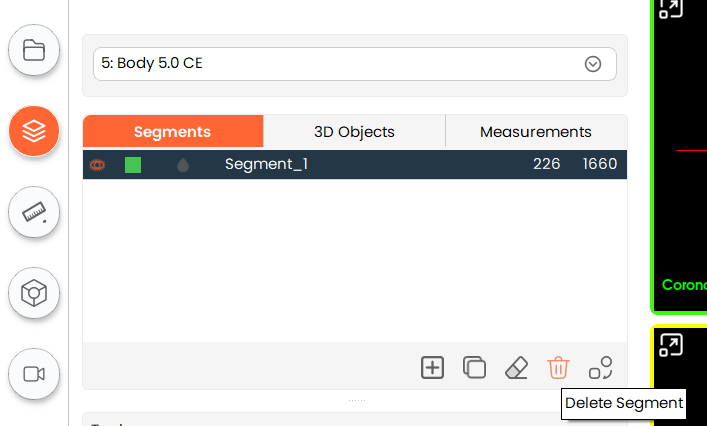
- To delete any existing segment, select the segment you want to delete and click on the "Delete Segment" button.
-
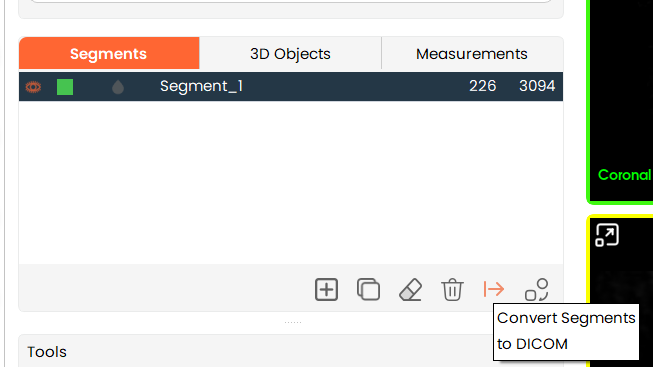
Export Segment to DICOM
- when the user clicks the Export Segments to DICOM icon button. The user can select a directory where the segments will be exported as DICOM. On clicking Export, the selected segments are converted into DICOM format and exported to the chosen directory. On clicking Cancel, the popup is closed without exporting.
-
Convert Segment to Model
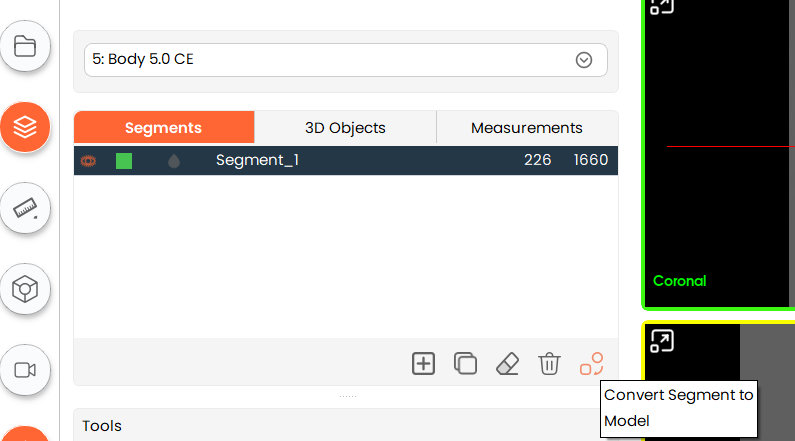
- To convert a single segment into a 3D model, click the "Convert Segment to Model" button. To convert multiple segments at once, hold down the
Shiftkey while clicking on the specific segments in the segment table.
- To convert a single segment into a 3D model, click the "Convert Segment to Model" button. To convert multiple segments at once, hold down the
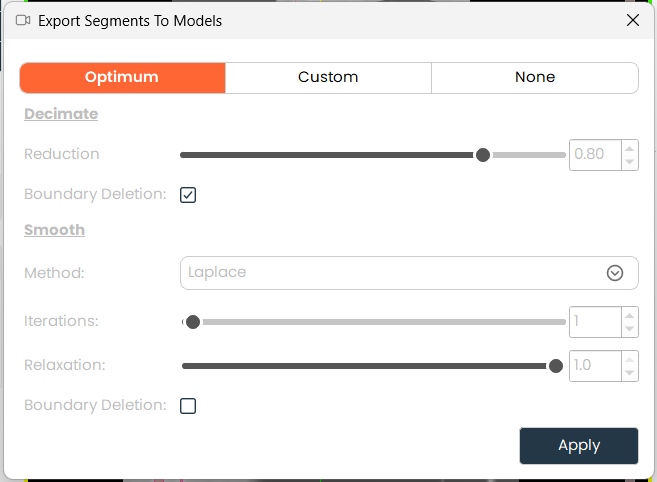
Convert to segment menu:
For generation of models, convert to segment to model tool offers 3 post processing parameters sets for selection:
-
Optimum: Uses factory-validated parameters that strike the best balance between surface smoothness and geometric accuracy. Recommended for all clinical applications
-
Custom Allows manual selection of post-processing parameters for advanced users.
-
Reduction: Sets the percentage by which to reduce the triangle count on the surface mesh. Higher reduction decreases file size and complexity at the cost of detail.
-
Boundary deletion: When enabled, removes mesh points located at the boundary of the model surface.
-
Iterations: Defines how many times the selected post-processing algorithm is applied to the model. More iterations produce smoother results.
-
Methods: Selects the smoothing algorithm used during model generation.
- Laplace
- Relaxation Controls how aggressively each surface point moves toward the average position of its neighbors. Higher values produce a smoother surface.
- Taubin
- Pass band Sets the spatial frequency cutoff for the Taubin smoothing algorithm, which smooths the surface while better preserving volumetric shape compared to Laplace
- Laplace
-
-
None Generates the model directly from the segmentation data without applying any smoothing or mesh optimization
-
Note: Is strongly recommended that Optimum set parameters are utilized for models required for preplanning and diagnosis purposes. Optimum parameters are validated by MySegmenter to ensure accuracy and surface quality are preserved.
-
A dialog will appear where you can choose various settings for the resulting model. The default setting is optimal, but you can change them by clicking the "Custom" tab. Finally, click "Apply" to convert the segment.
-
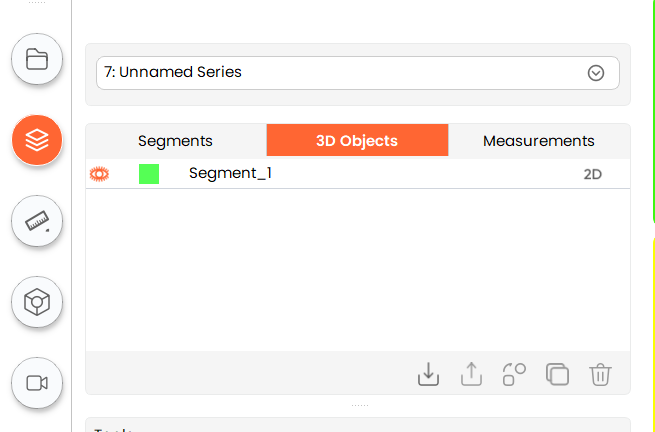
The resulting model is available under "3D Objects" section.
-