Import DICOM
Import DICOM files into your project.
Steps
-
Open DICOM Wizard Module
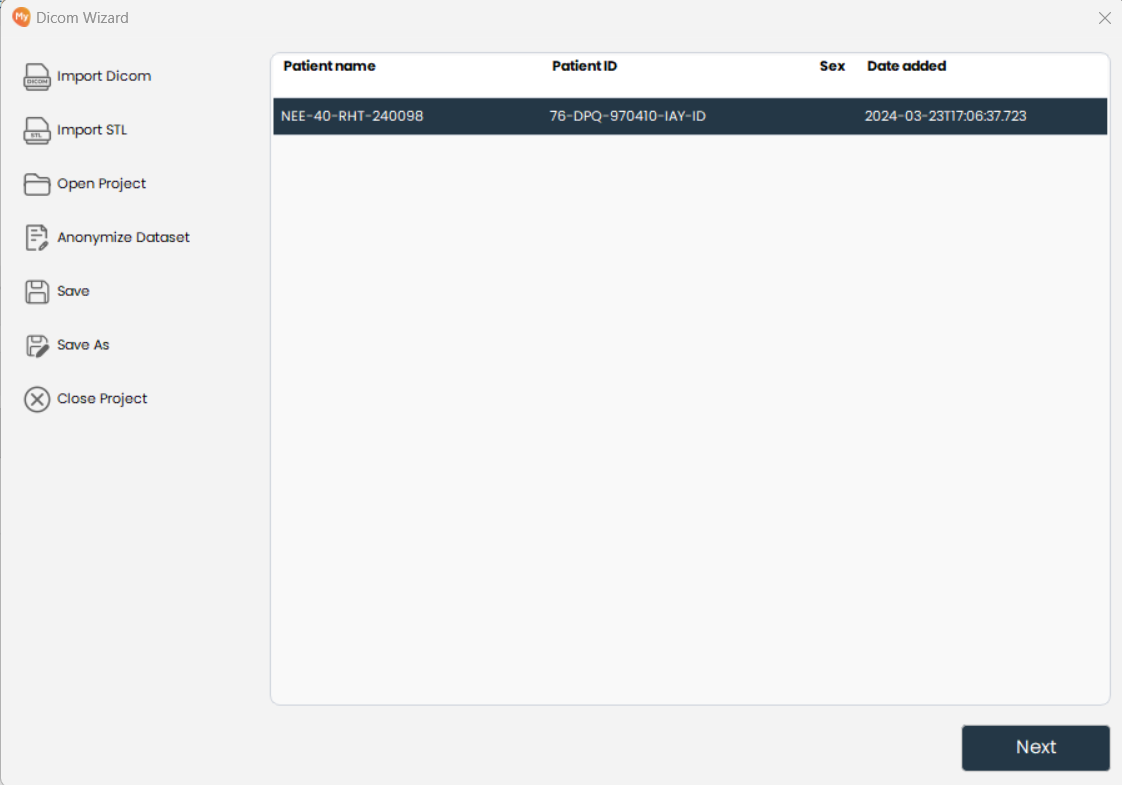
- Open the DICOM Wizard module from the sidebar to begin the import process.
-
Click on Import DICOM or DICOM volume Button
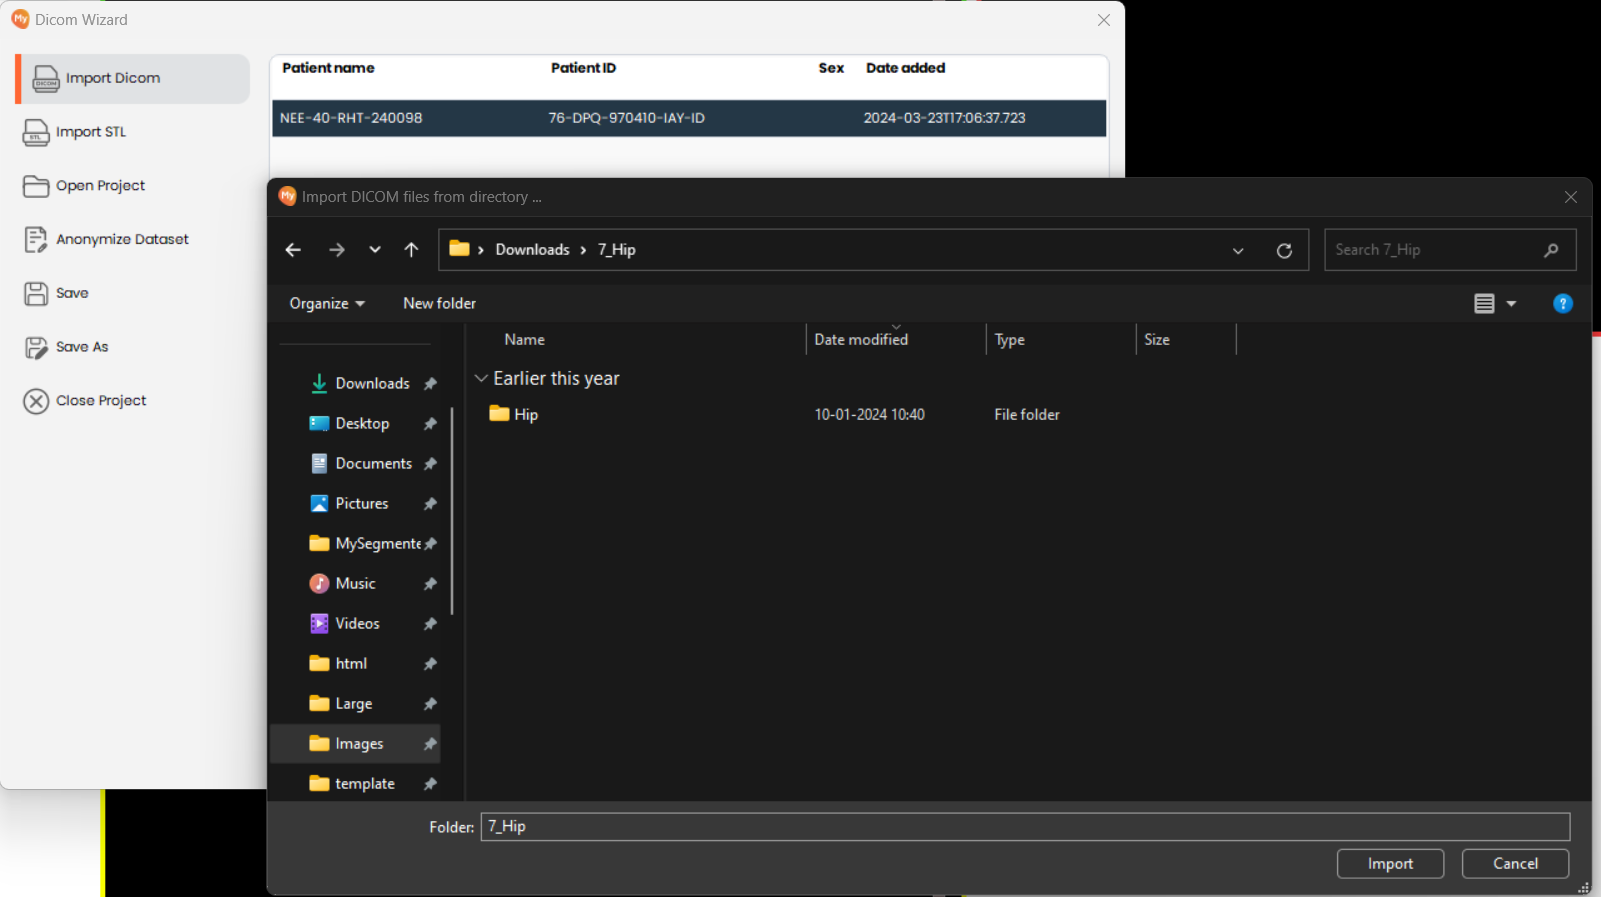
- Click on the Import DICOM button on the left sidebar. This will open a file explorer dialog where you can navigate to the folder containing your DICOM files
-
Select the Directory with DICOM Files
- Navigate to and select the directory containing your DICOM files. Ensure all files belonging to the same scan series are within the same directory for complete and accurate loading.
-
Select the Series in the Import Wizard
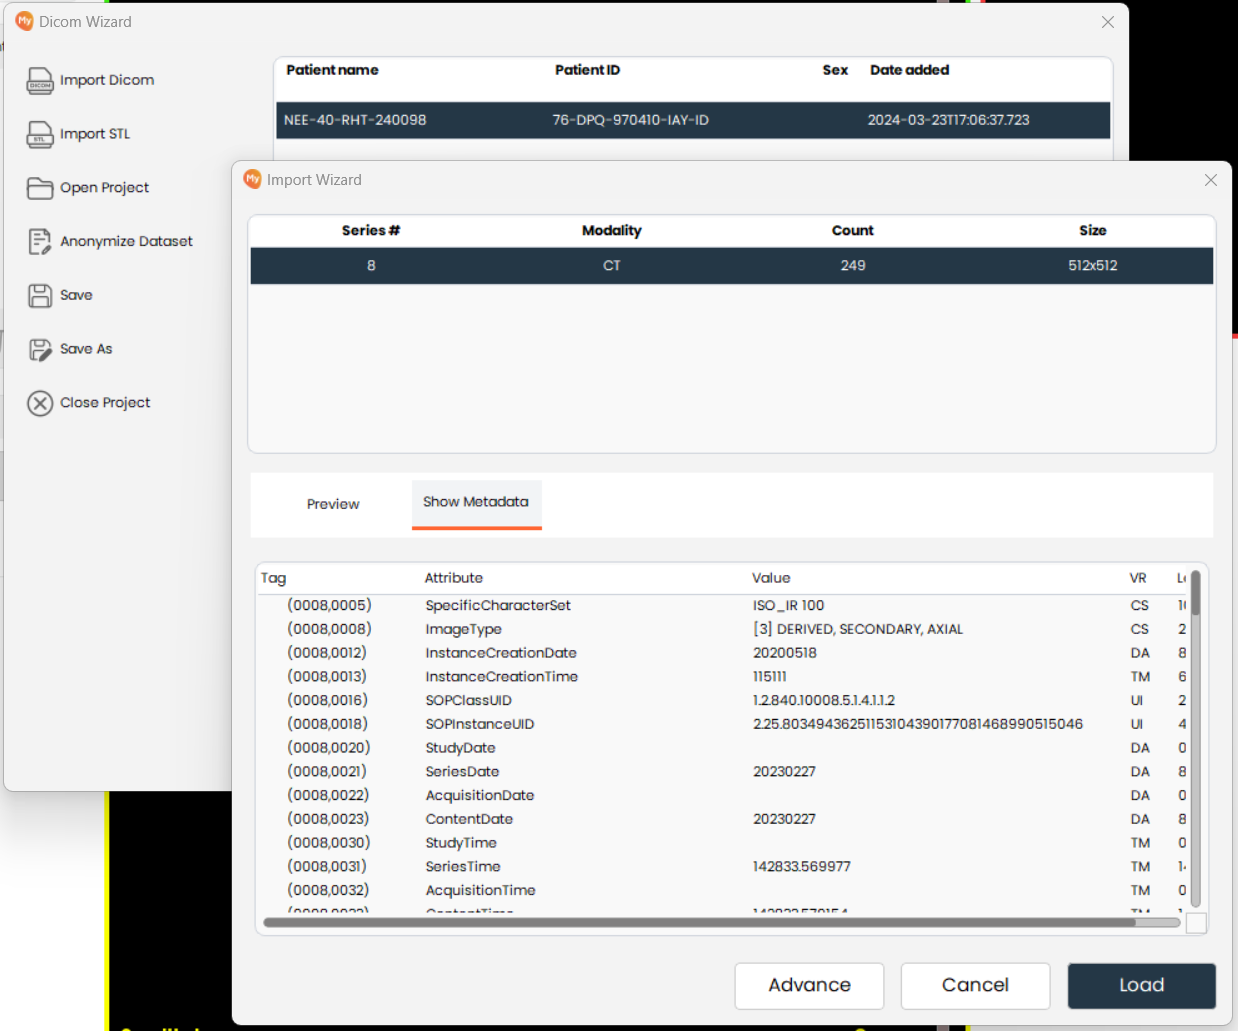
- The import wizard lists all detected DICOM series within the chosen directory. Select the series you wish to import; each entry corresponds to a distinct image sequence or scan.
-
Preview and Metadata
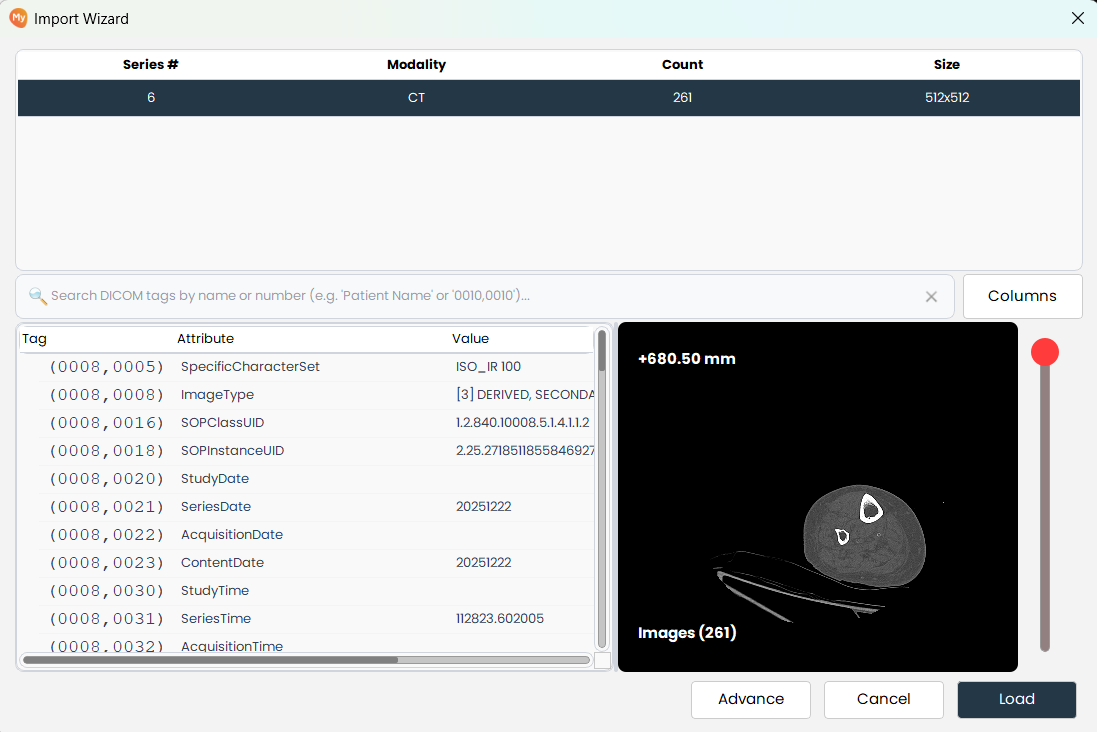
- Switch between the "Preview" and "Show Metadata" tabs to inspect the images and their associated metadata. The Preview tab allows you to visually inspect the images, while the Metadata tab provides detailed information about each image, such as patient information, scan parameters, and more.
-
Advanced Options
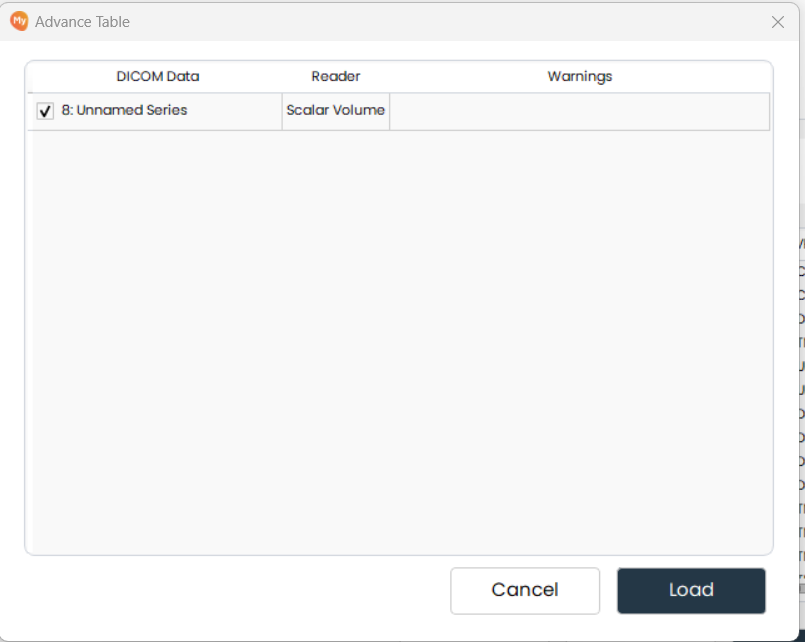
- Click the "Advance" button to explore additional options for importing and processing your DICOM files.
-
Click on Load Button
- Click on the
Loadbutton to load the selected DICOM series into your project. This will make the images available for further analysis and manipulation.
- Click on the
If DICOM Data is Already Loaded
- Open Import Wizard
- Click on the loaded DICOM data to open the Import Wizard. This allows you to manage and view the series that have already been imported.Other things are same as import DICOM from step 4 to 7.
- Click on the loaded DICOM data to open the Import Wizard. This allows you to manage and view the series that have already been imported.Other things are same as import DICOM from step 4 to 7.