Split Segment
Create, manage, and organize segments using the toolbar controls described below.
- The
Split Segmenttool divides a segment into two or more parts.
Steps:
-
Choose the
Split Segmenttool. -
Select the parent segment to be divided.
-
Paint representative regions in the 2D view for each of the resulting sub-segments listed in the Split Segments table
-
Click Initialize/Update to compute the split based on the painted regions.
-
Click Show Preview to view the proposed split in the 3D view.
-
Adjust the preview opacity slider to control transparency.
-
Click Apply to commit the operation to the segment.
Additional Information
Split Segment Table
- Use the add/remove controls in the Split Segments table to define how many sub-segments the parent will be divided into.
- Click the color swatch next to any sub-segment entry to assign it a distinct color.
Changing Parent Segment
- Use the Parent Segment dropdown to select a different source segment to split.
Apply/Update Changes
- Click Initialize/Update to refresh the preview after making changes.
Preview
- The 3D view displays a preview of the multi-slice operation result.
Opacity
- Use the opacity control to adjust the transparency of the preview overlay.
Reset Preview
- Click Reset to clear the current preview and start the split definition over.
Operation
- Switch between Add (extends segment across slices) and Remove (deletes from slices) operations.
- Add : Adds segmentation data to all slices within the painted region.
- Remove : Removes segmentation data from all slices within the painted region.
- Brush Shape : Circle, Square, and Lasso are the main types of brush shapes you can choose from.
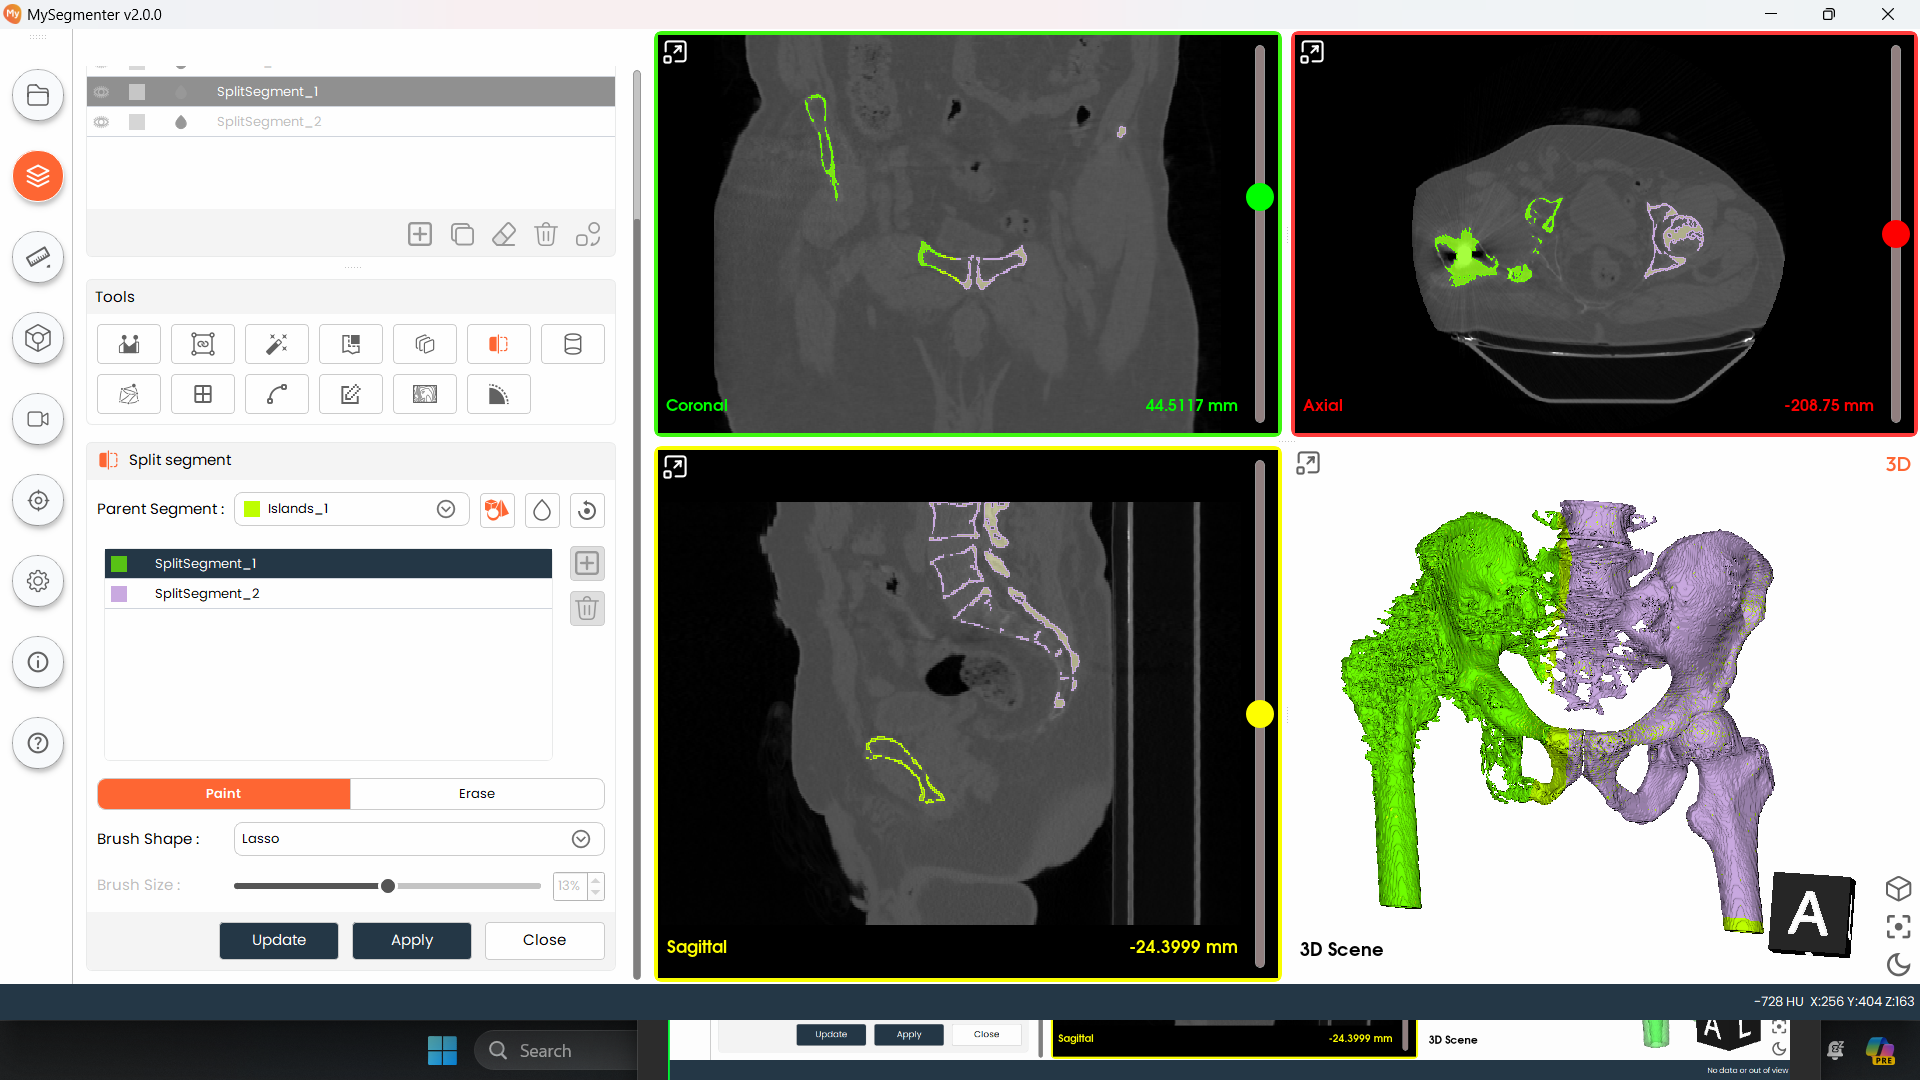
- Brush Size : Adjusts the diameter of Circle brushes and the side length of Square brushes. Not applicable when using the Lasso shape.